- STOREGlobal/English

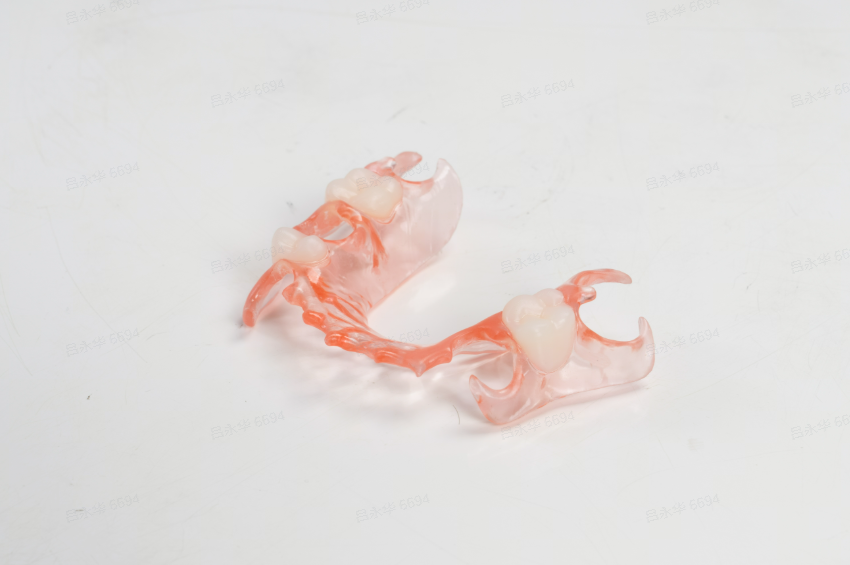
Flexible.
Pre-Polished.
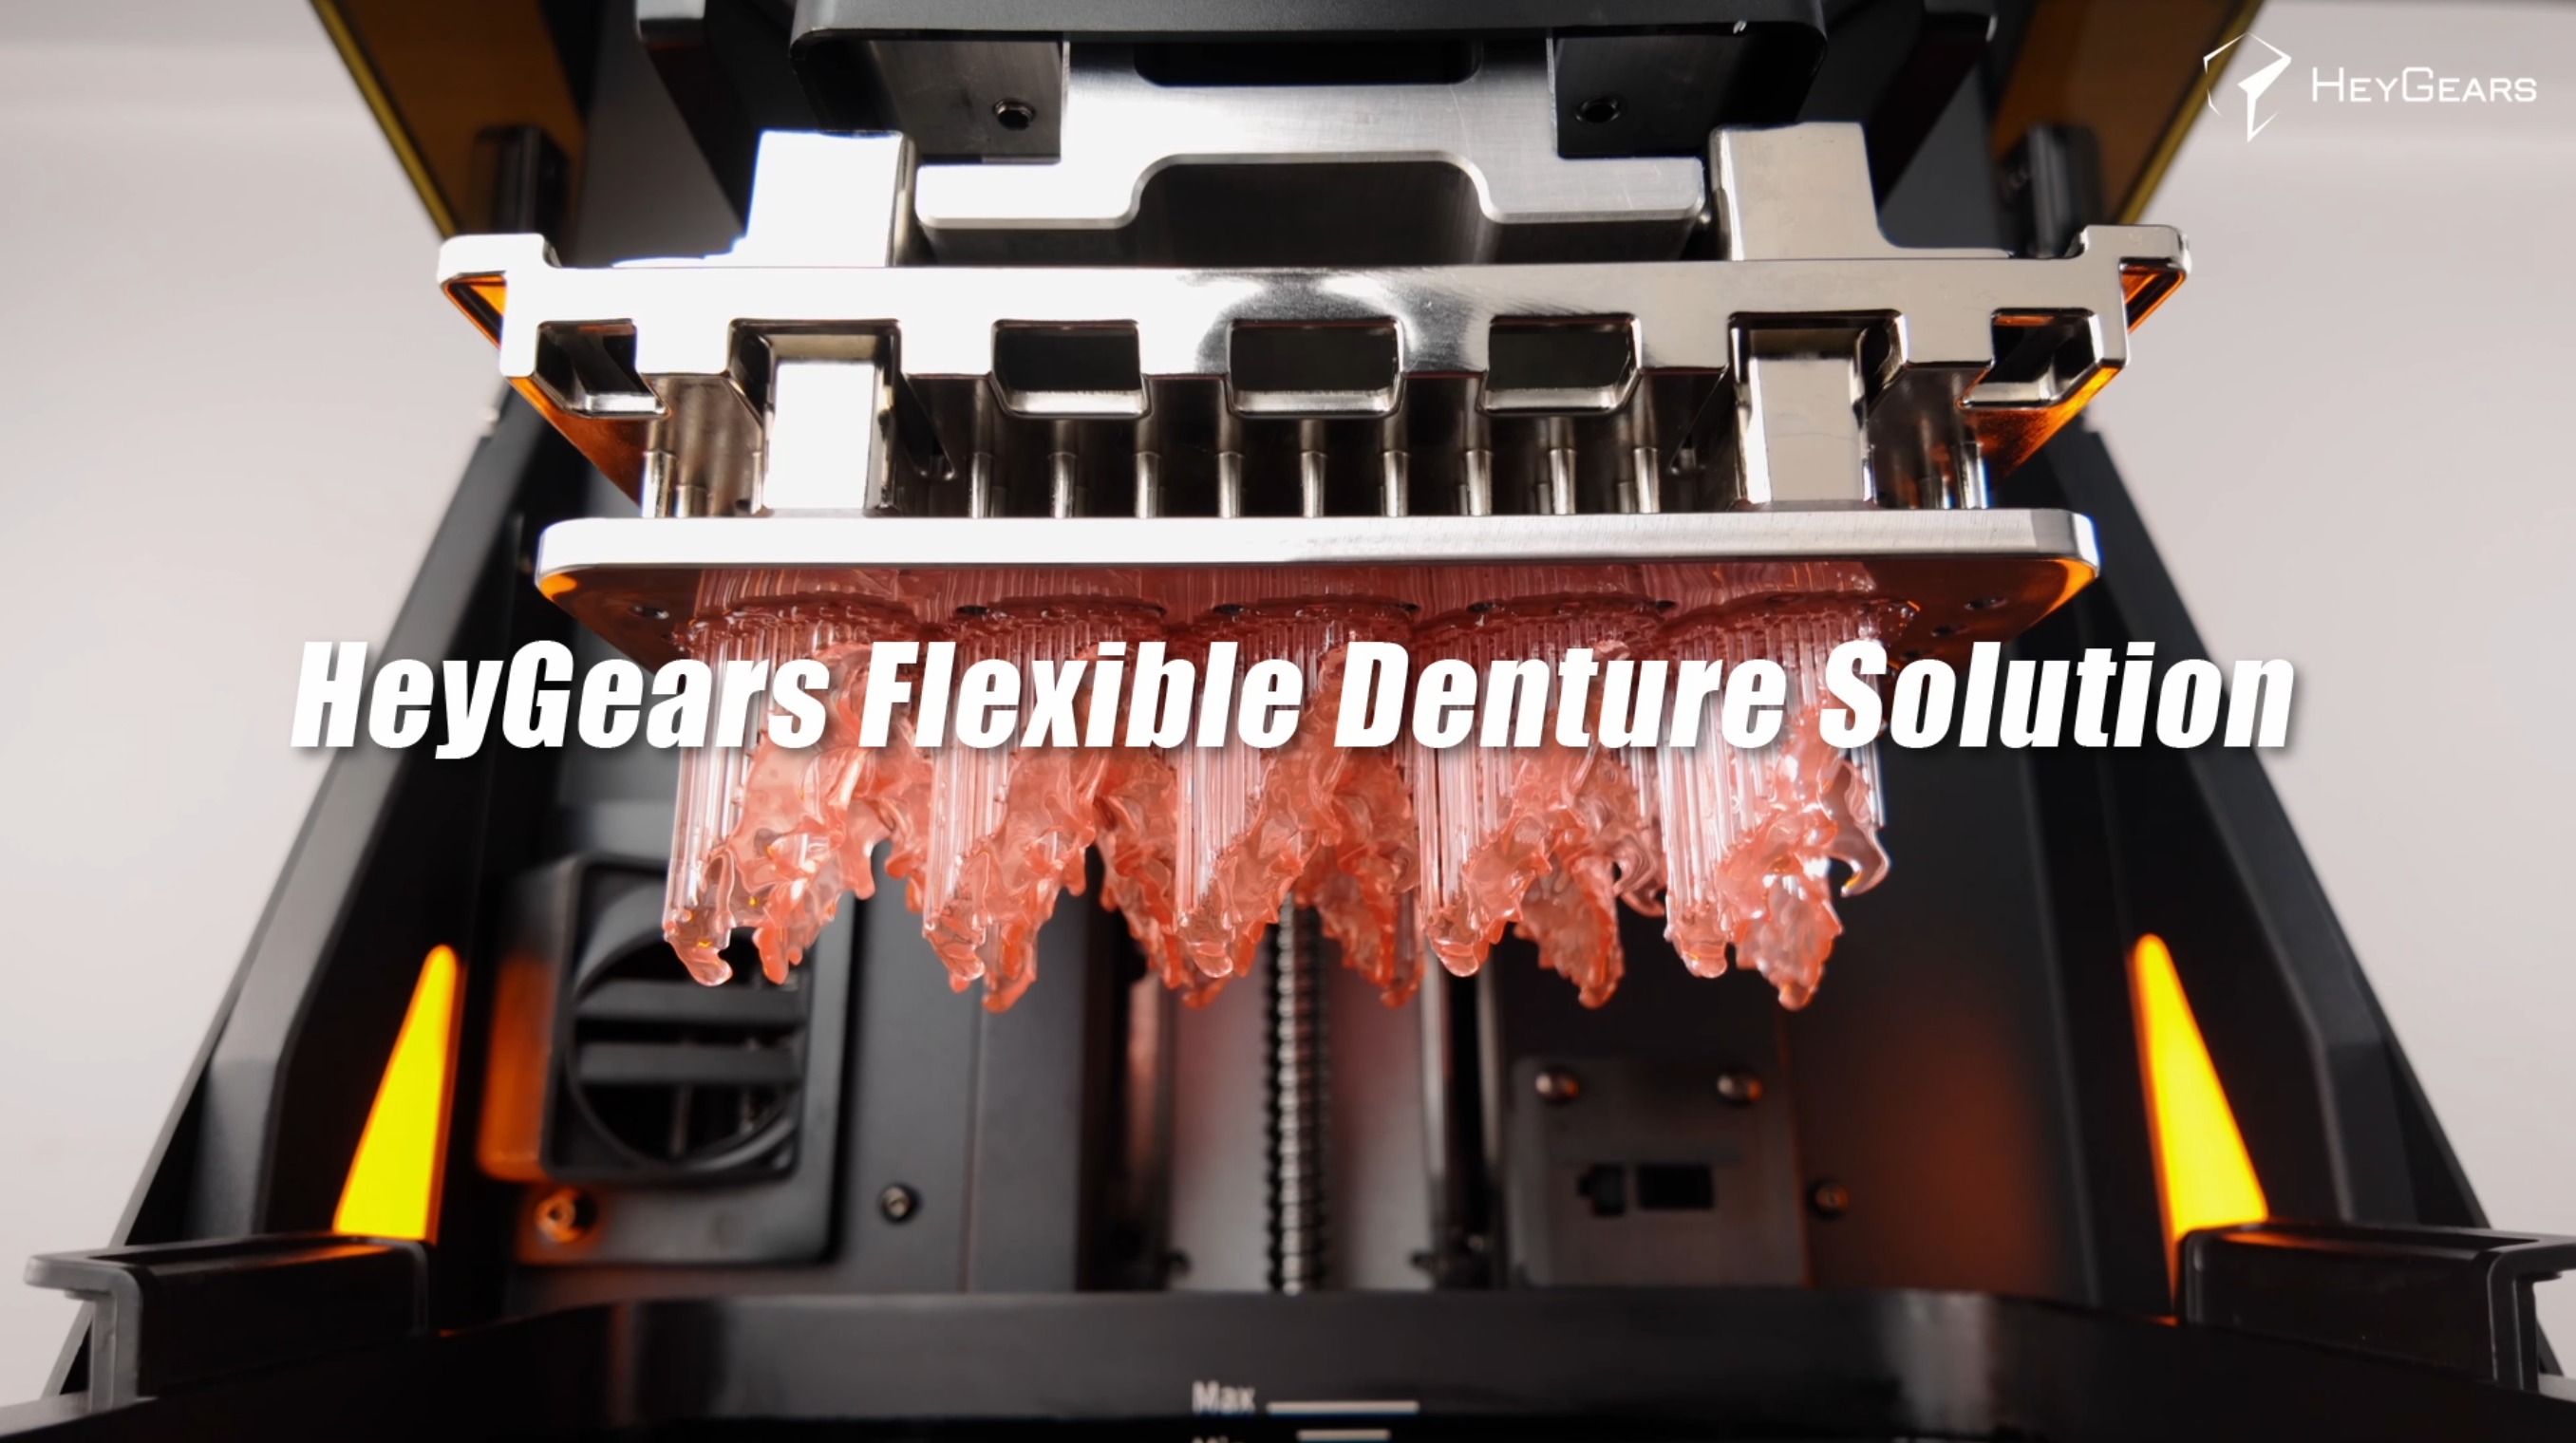
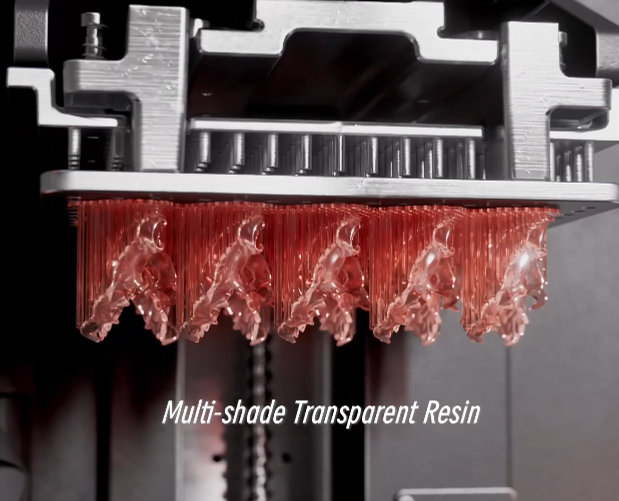
High Transparency,
Flexible,
Lifelike Aesthetics
Multi-shade transparent resin + High transparency printing technology: For a natural look.
Excellent rebound for a secure fit
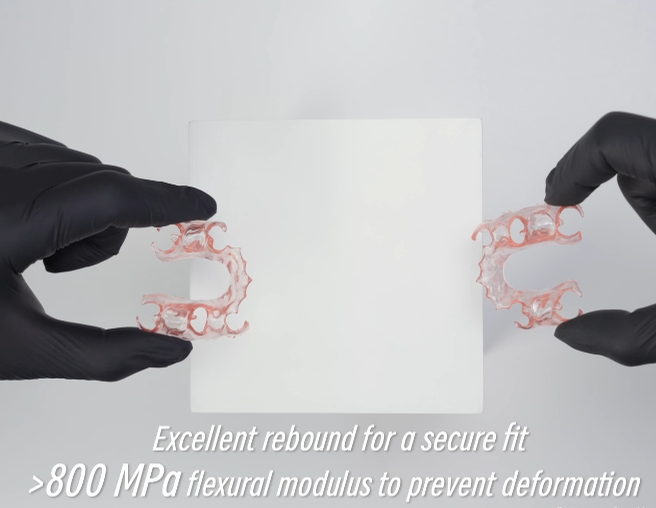
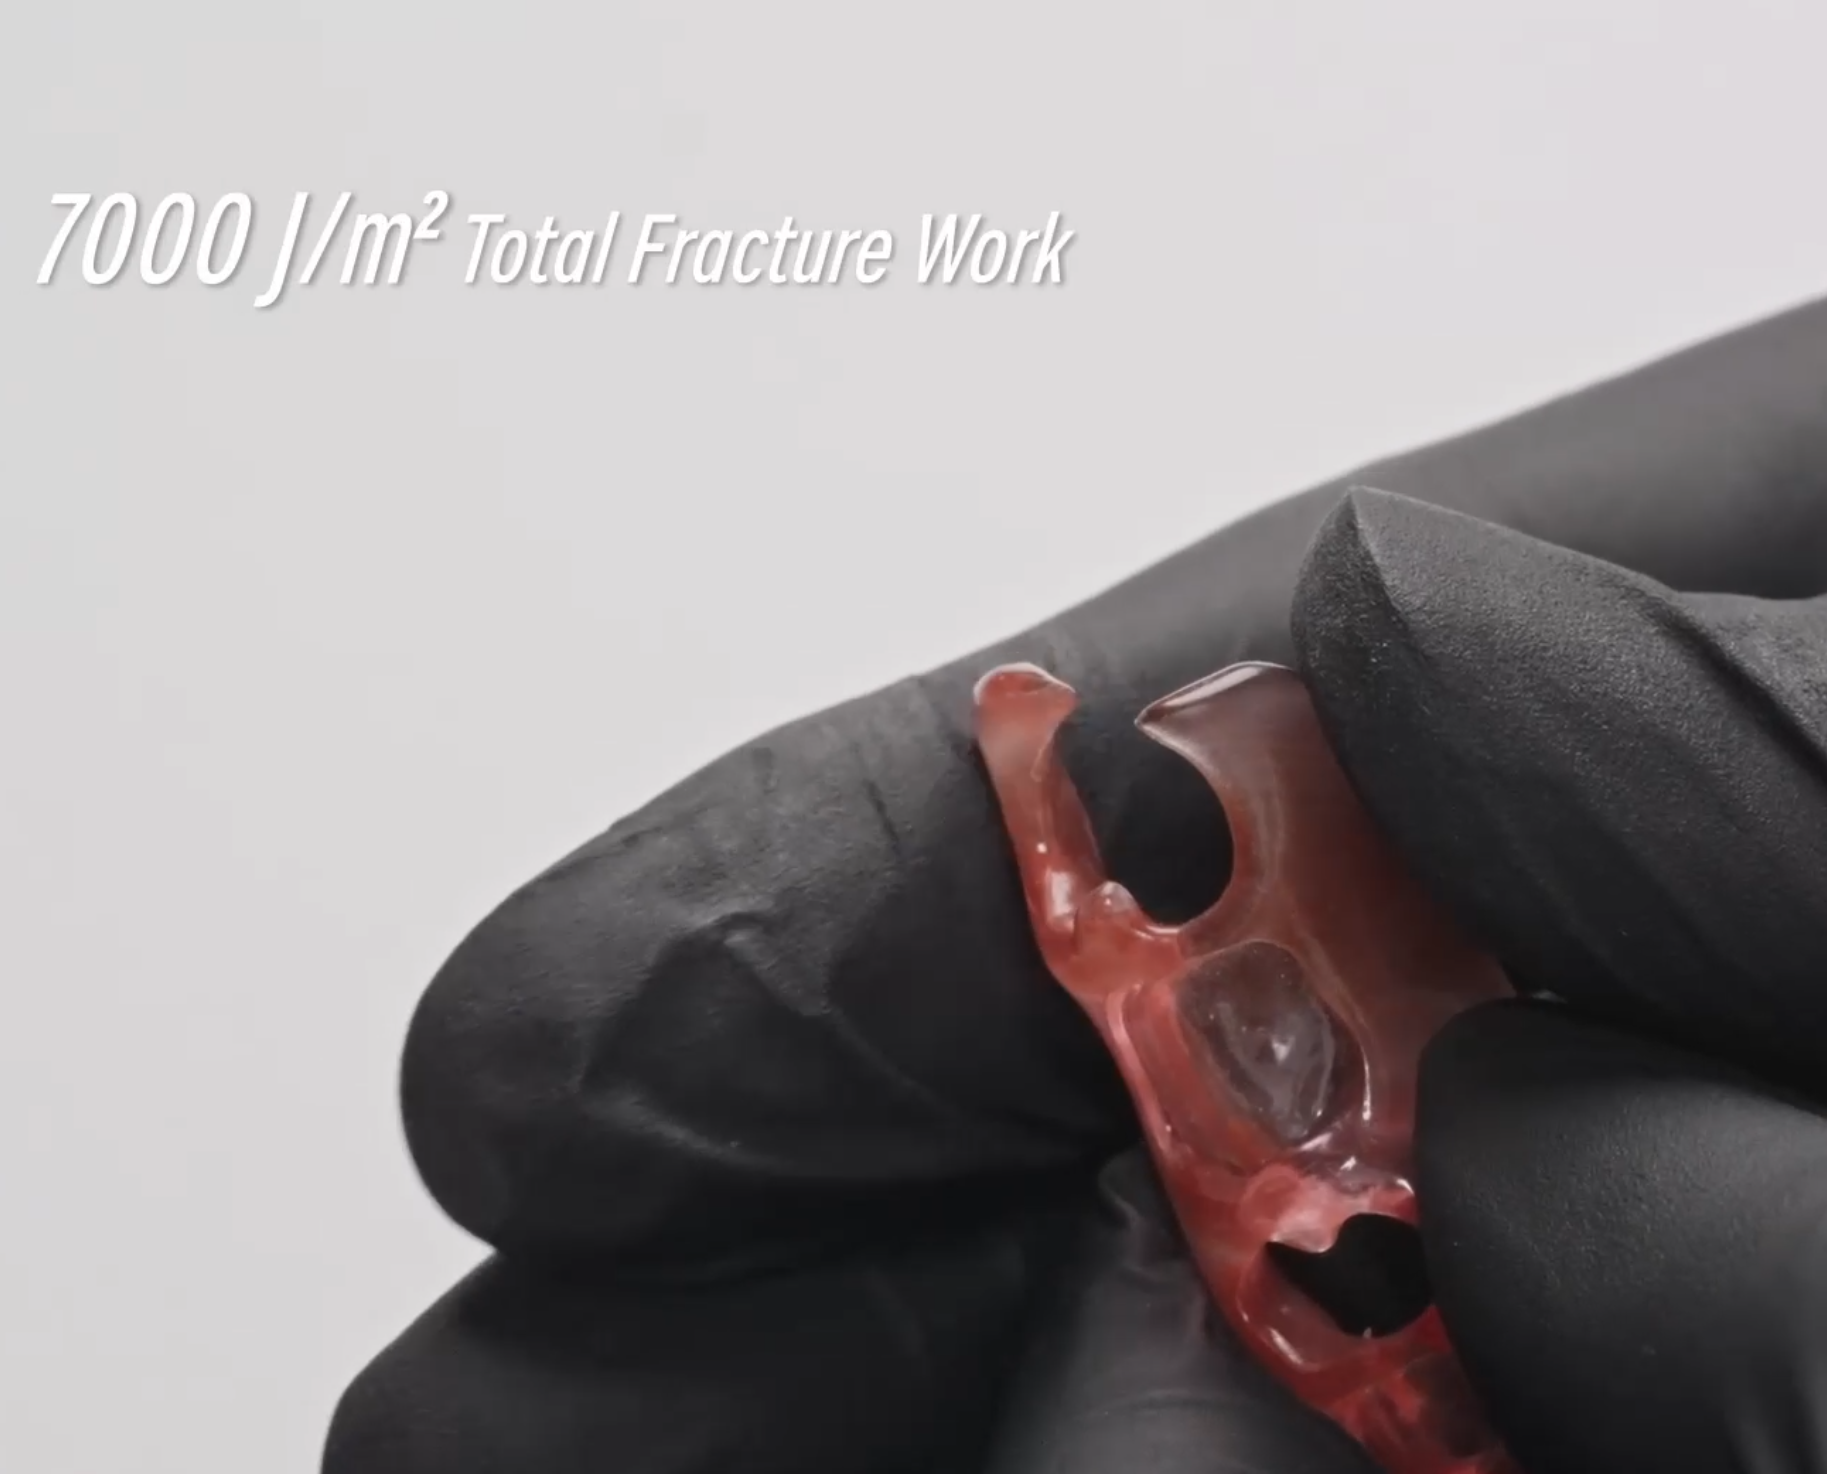
- Prevent DeformationFlexural modulusHeyGears 860 MPaStandard Requirements - 500 MPaLong-lastingTotal fracture workHeyGears 7000 J/m²Standard Requirements - 900 J/m²Tear-resistantElongation at breakHeyGears - 50%
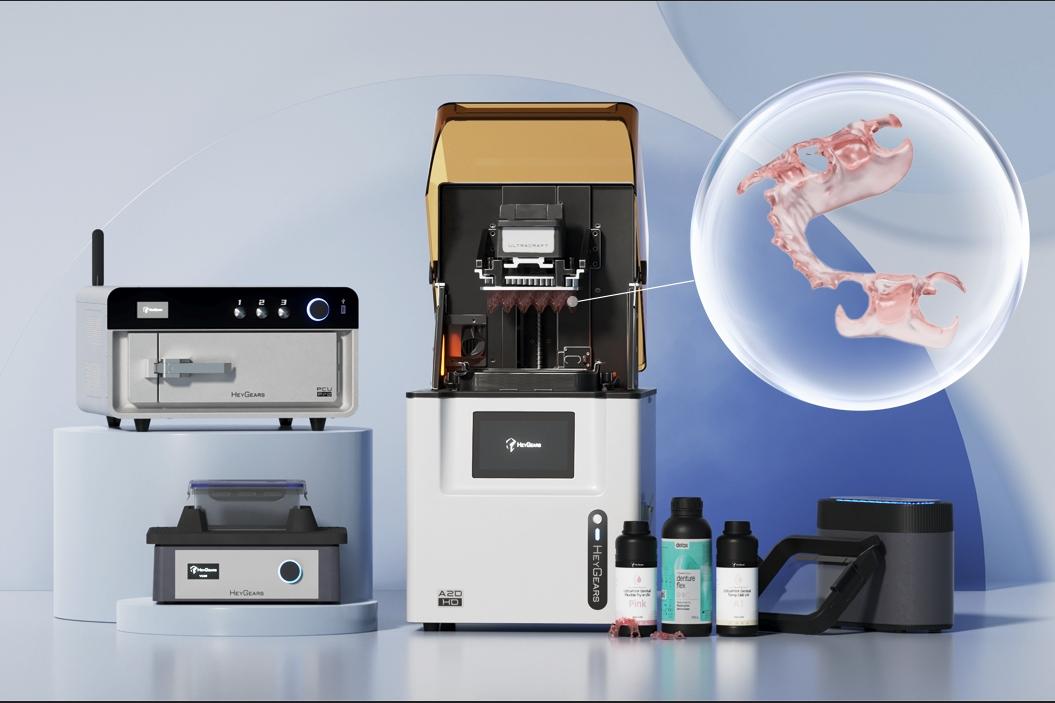
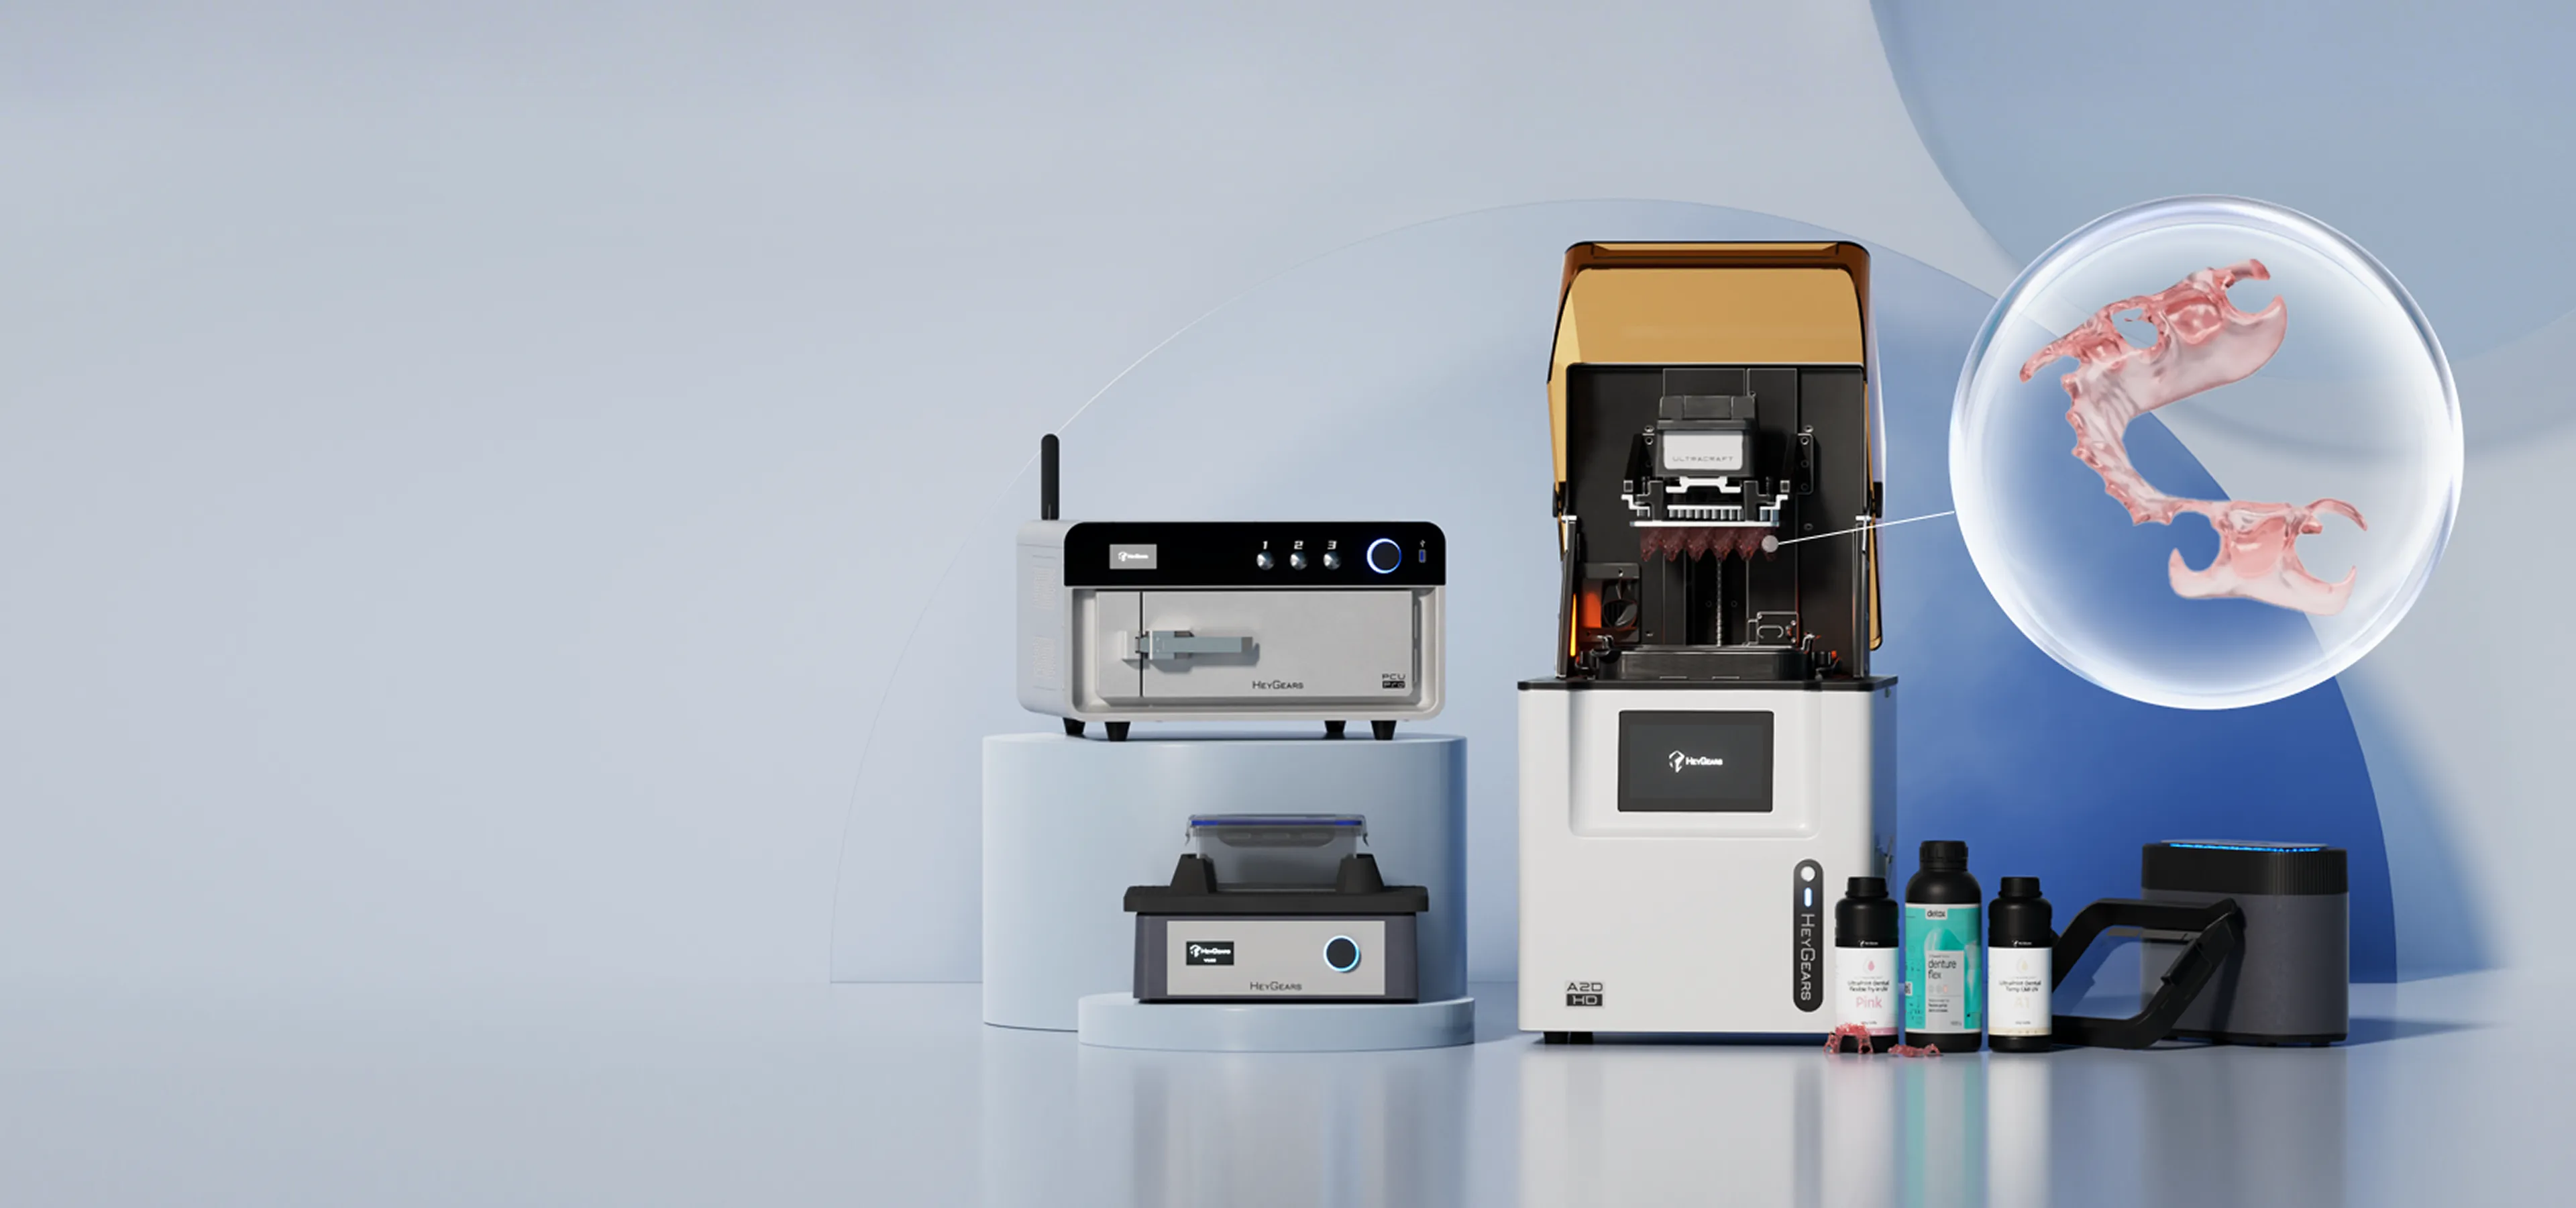
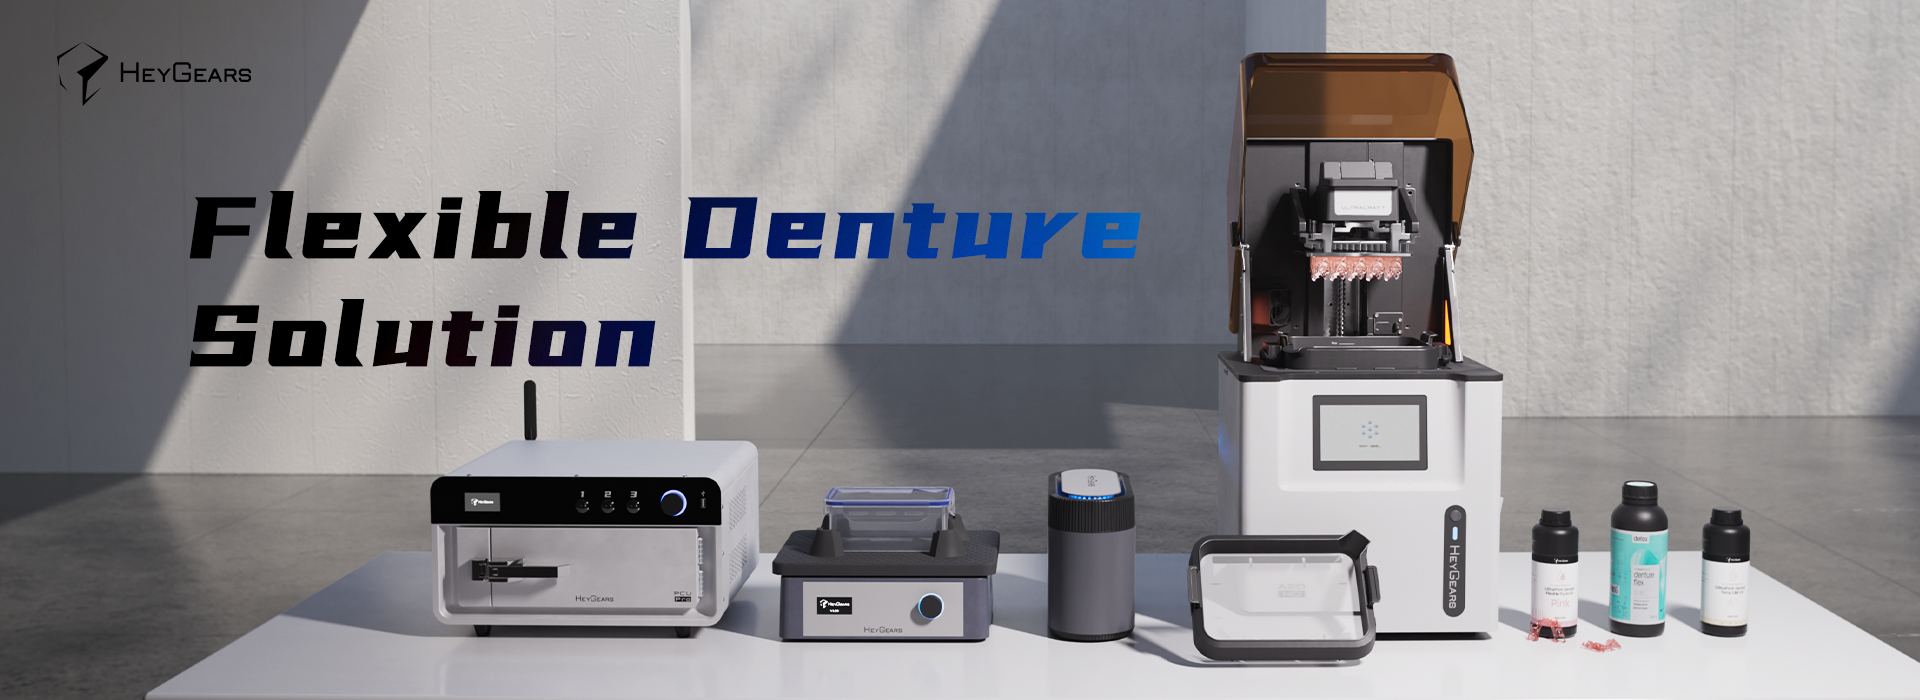
Digital Workflow to Empower
Your Business.
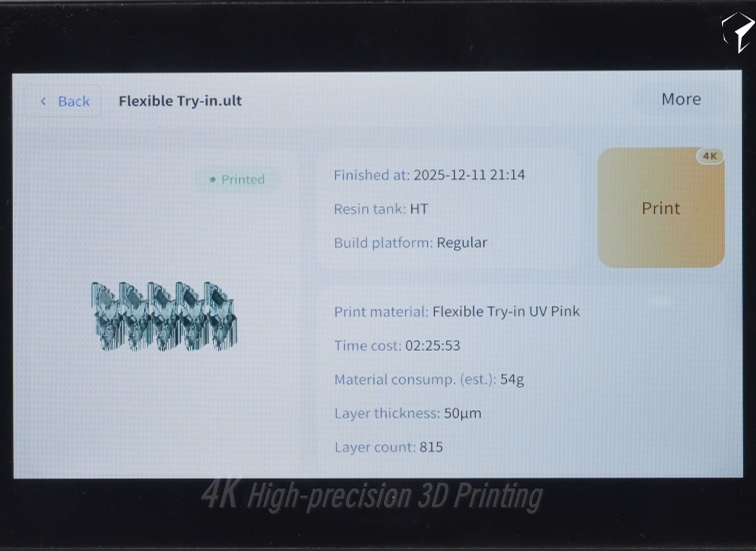
- 4K high-precision 3D Printing and Flexible Design Capabilities Ensure Perfect Retention and Comfort.
Extreme simplicity,
3D printed pre-polished results, one-click part removal, washing, and curing.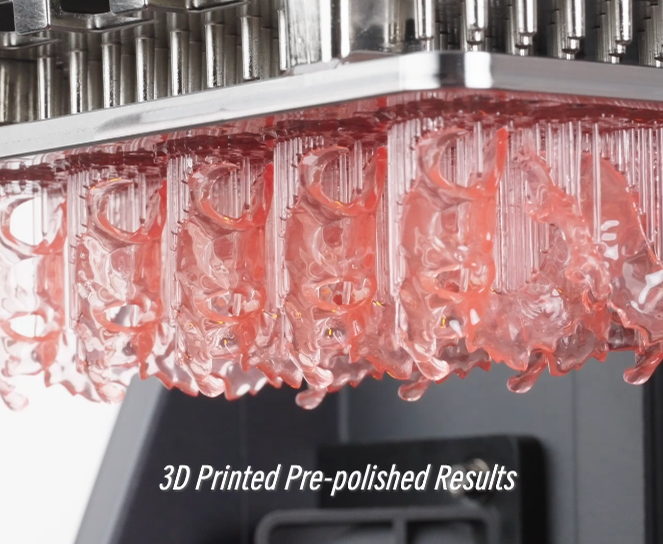
- Cuts hands-on time to
40 minutes per flexible partial denture (from 1-2 hours).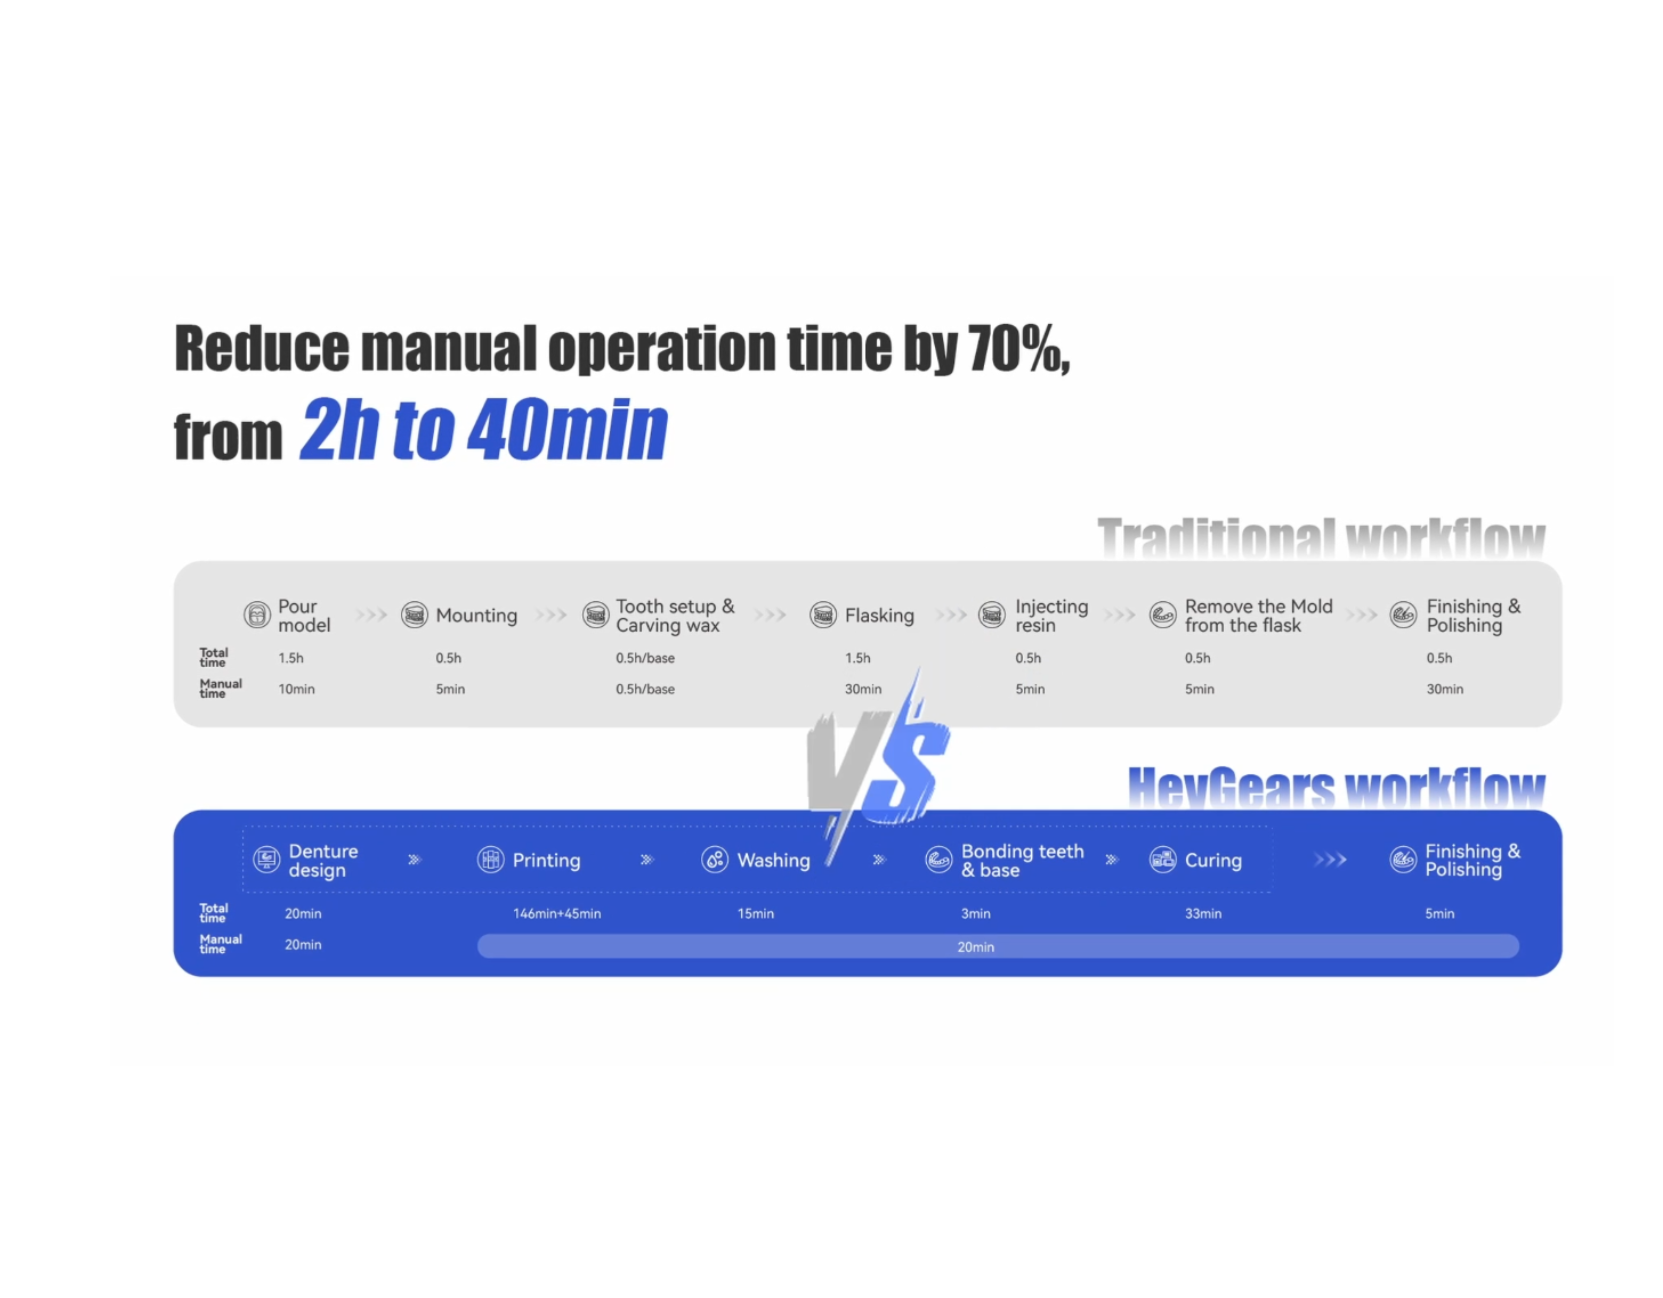
Great Value, Fast Delivery.
As low as
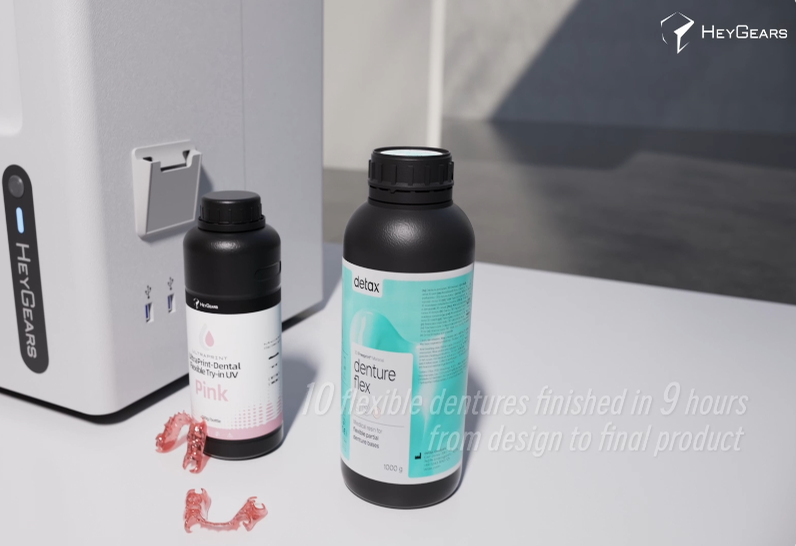
$3 per denture base137 denture basesper kg of resin

- 10 flexible dentures finished in 9 hours, from design to final product.
Fast turnaround, 2-day total delivery with professional design support
Printing Workflow for
Flexible Denture
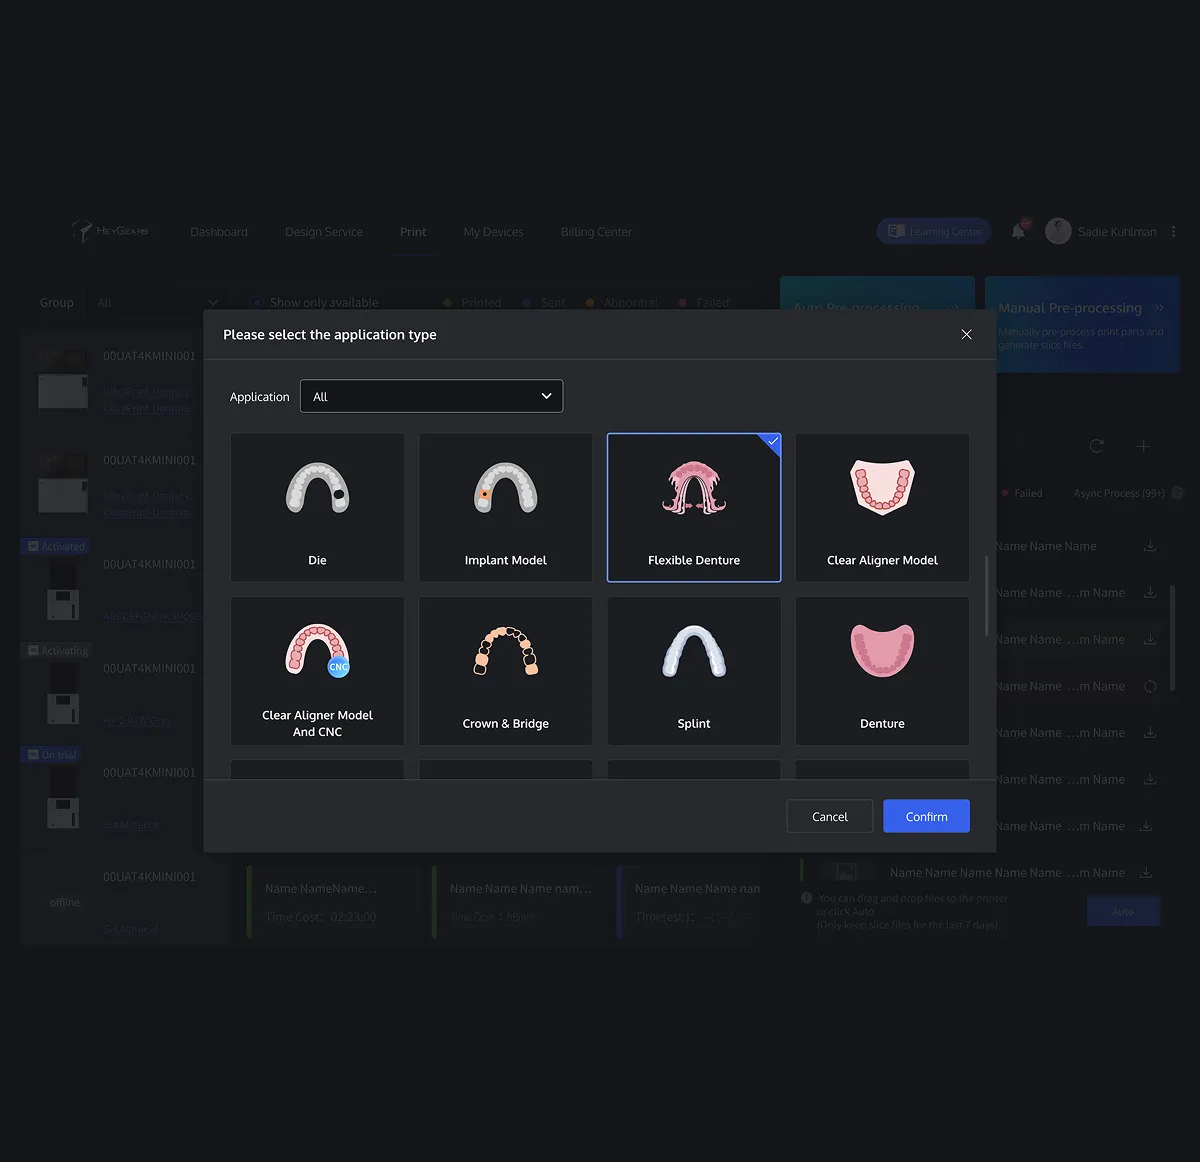
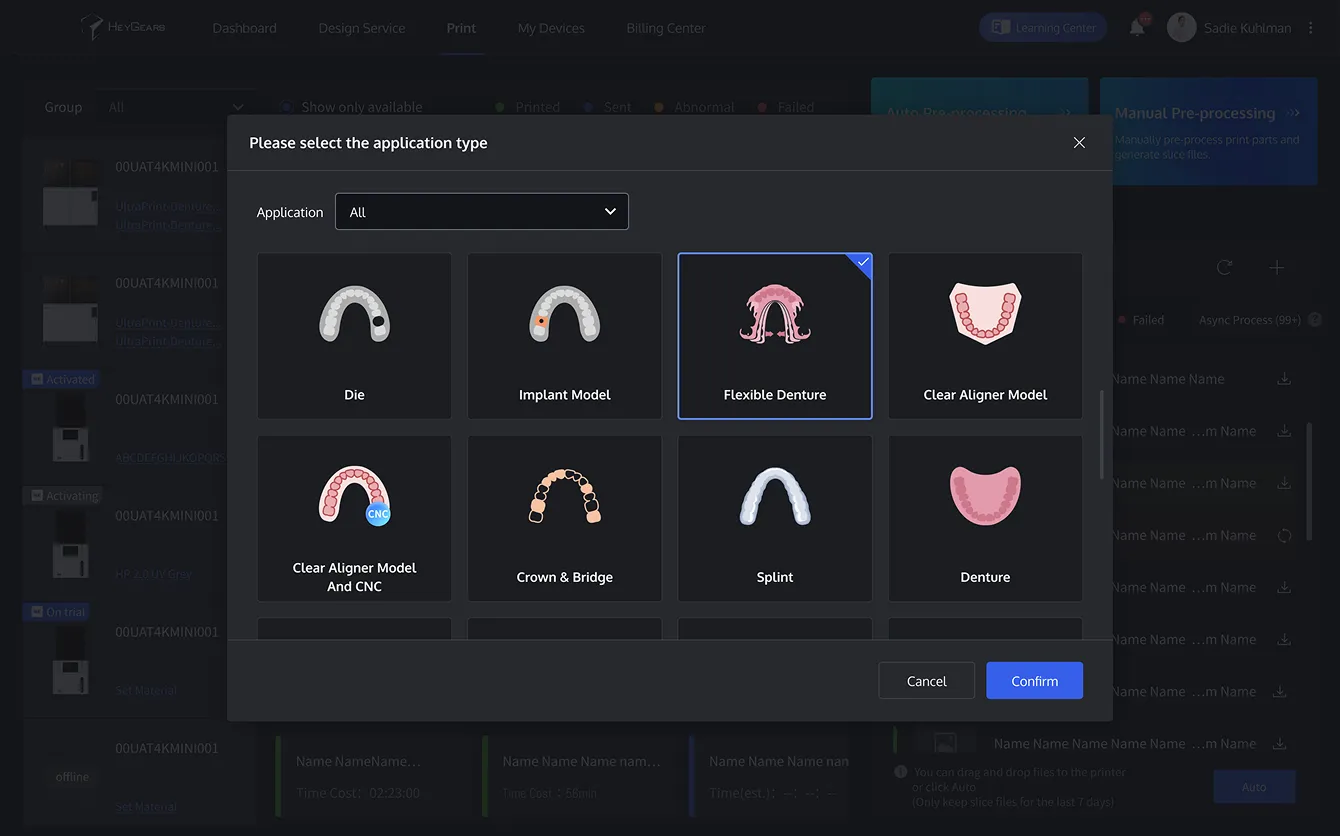
Step 1:Pre-processing
Pre-processing
Log in and navigate to: Print → Manual Pre-processing - Select Application:
For Base:
→ Flexible Denture → Select Printer → A2D HD → Select Flexible Try-in UV 50μm Settings: Select Straighten Type → Incline with tissue side facing down → Add Supports → Disable the inner wall of snap ring to support → Select Tank Type → HT Resin Tank
For Teeth:
→ Denture Teeth → Select Printer → A2D HD → Select Temp C&B UV 50μm Settings: Layout by Case → Configure the naming rules for identifying same-case files → Select Tank Type → HT Resin Tank
Import file → Auto steps: Straighten → Layout → Add Supports → Slice Download file or drag to printer to start job
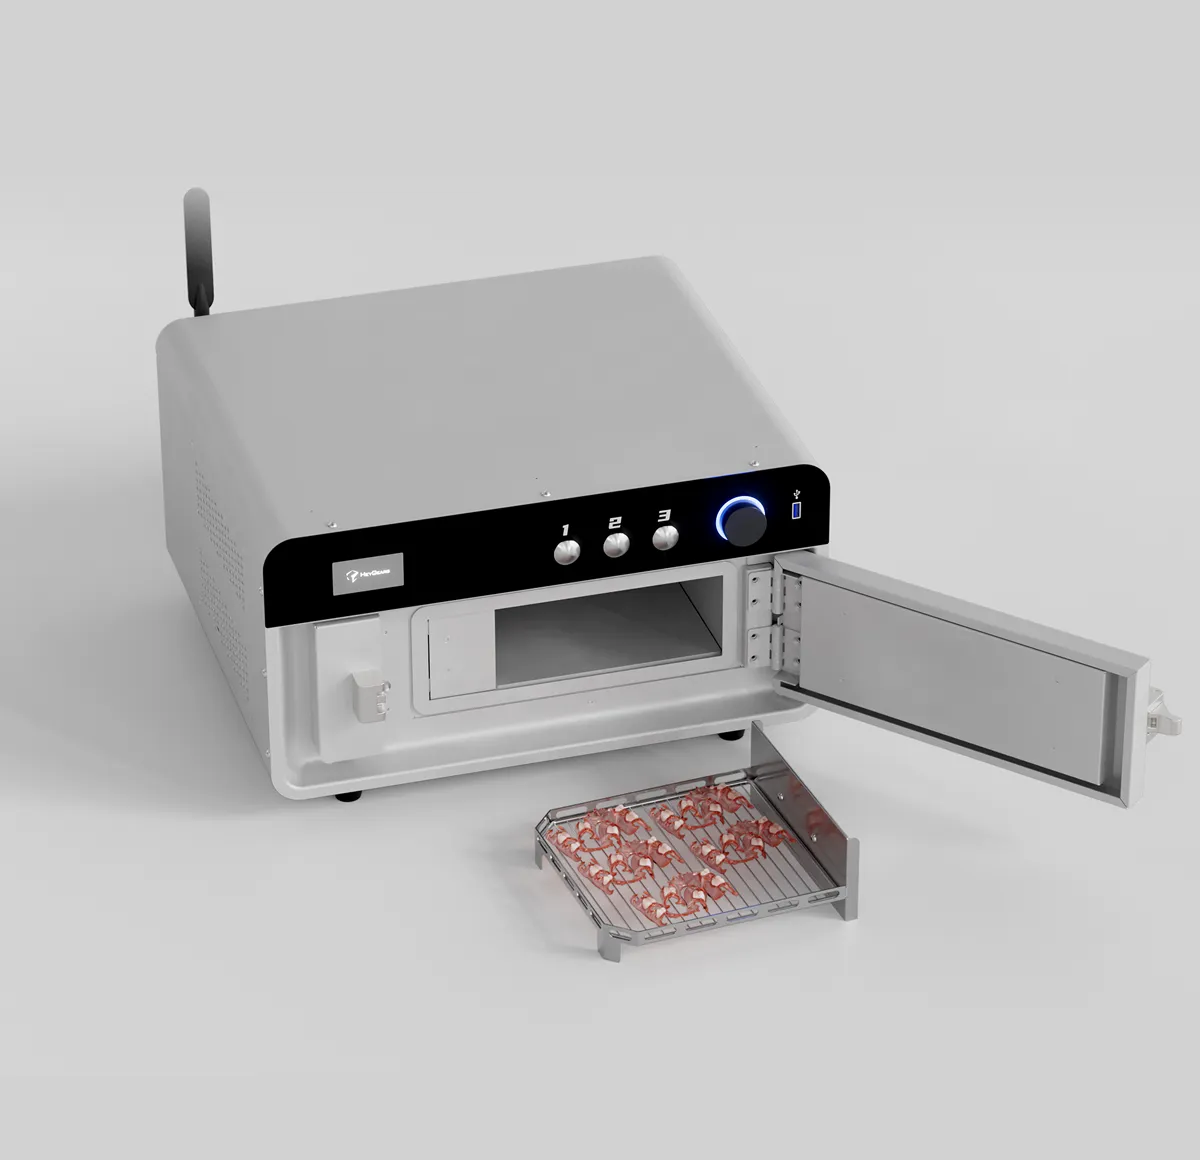
Step 2:3D Printing
3D Printing
Pre-print:
Clean platform/tank, install properly. Shake resin, pour, insert resin card. Select task → Start print'
Post-print:
Install collection tray → Auto part-removal (avoid touching surface)

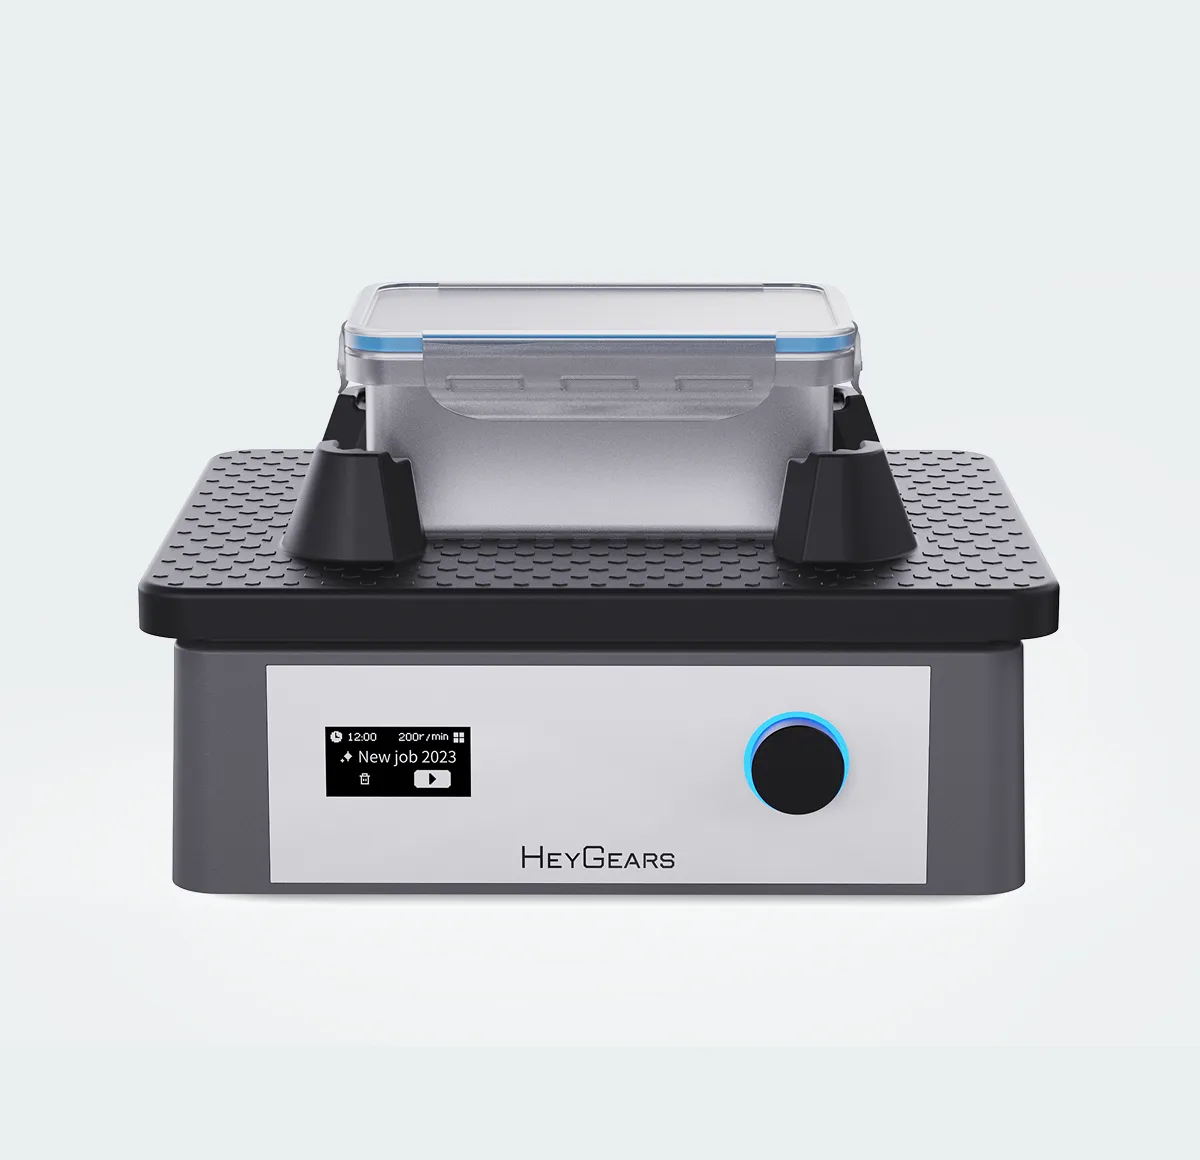
Step 3:Washing & Drying
Washing & Drying
Solvent:
The base and teeth must be cleaned separately.
Steps:
Place in the cleaning box → Fill tank to fully submerge the models Wash 2 min→ Dry with air gun for 30 sec → Replace solvent → Repeat air dry for 15-20 mins

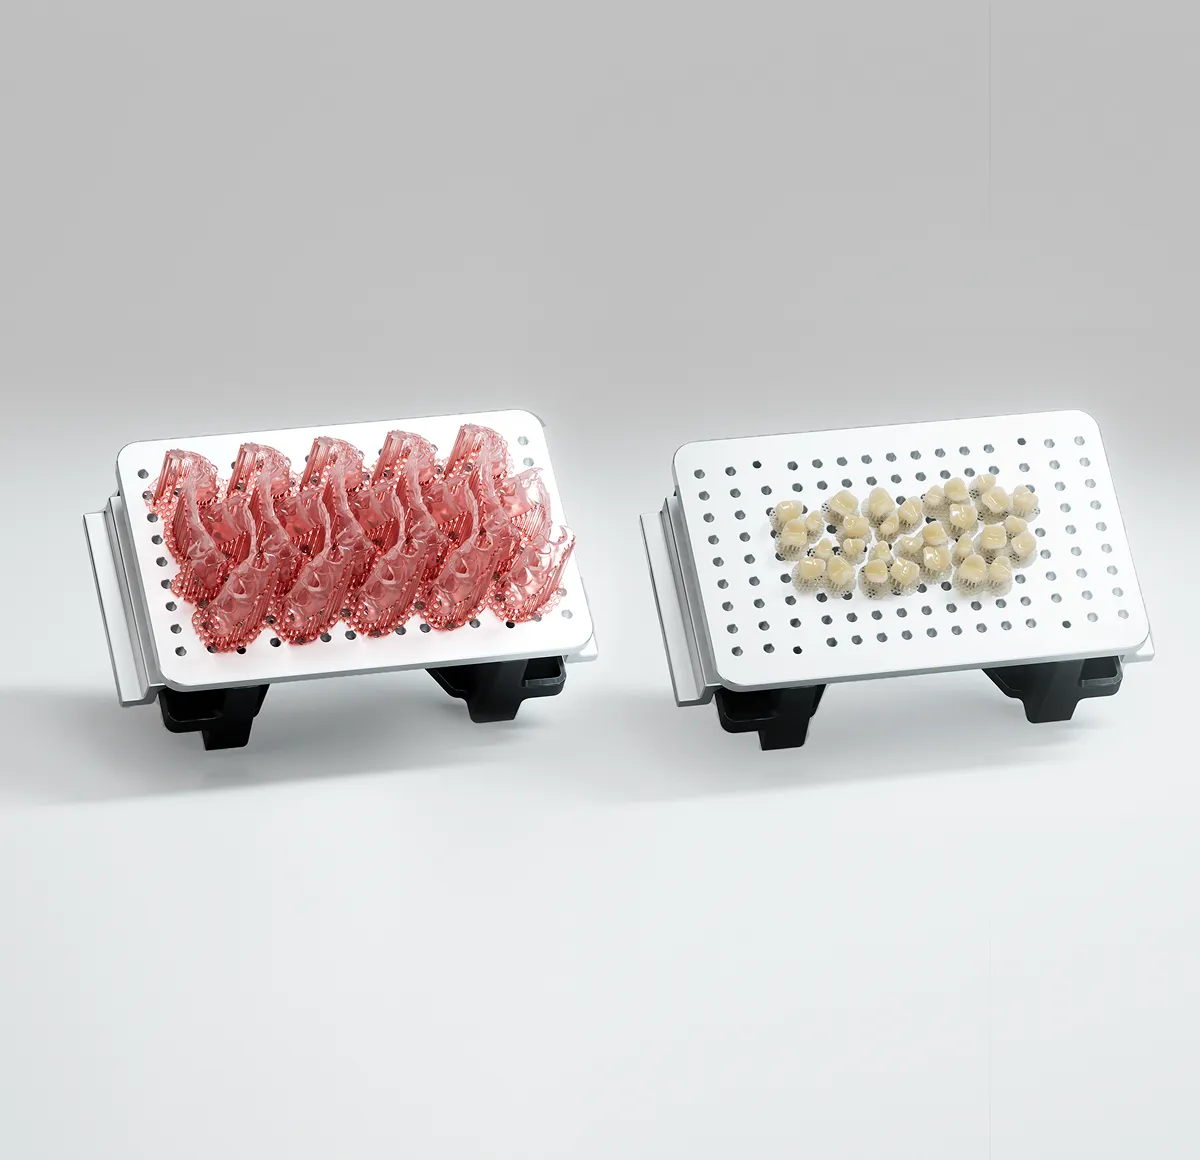
Step 4:Assemble & Curing
Assemble & Curing
-
Remove supports → Assemble the teeth and base
-
Curing:Place on tray → Select process → Cure under inert gas

-
Step 5:Finish
Finish
-
Smoothen → Polish → Clean
-
Flexible Denture Solution Workflow