- STOREDeutschland/Deutsch
Deutschland/Deutsch
Double-Sided High Transparency,
Polish-Free
Polish-Free
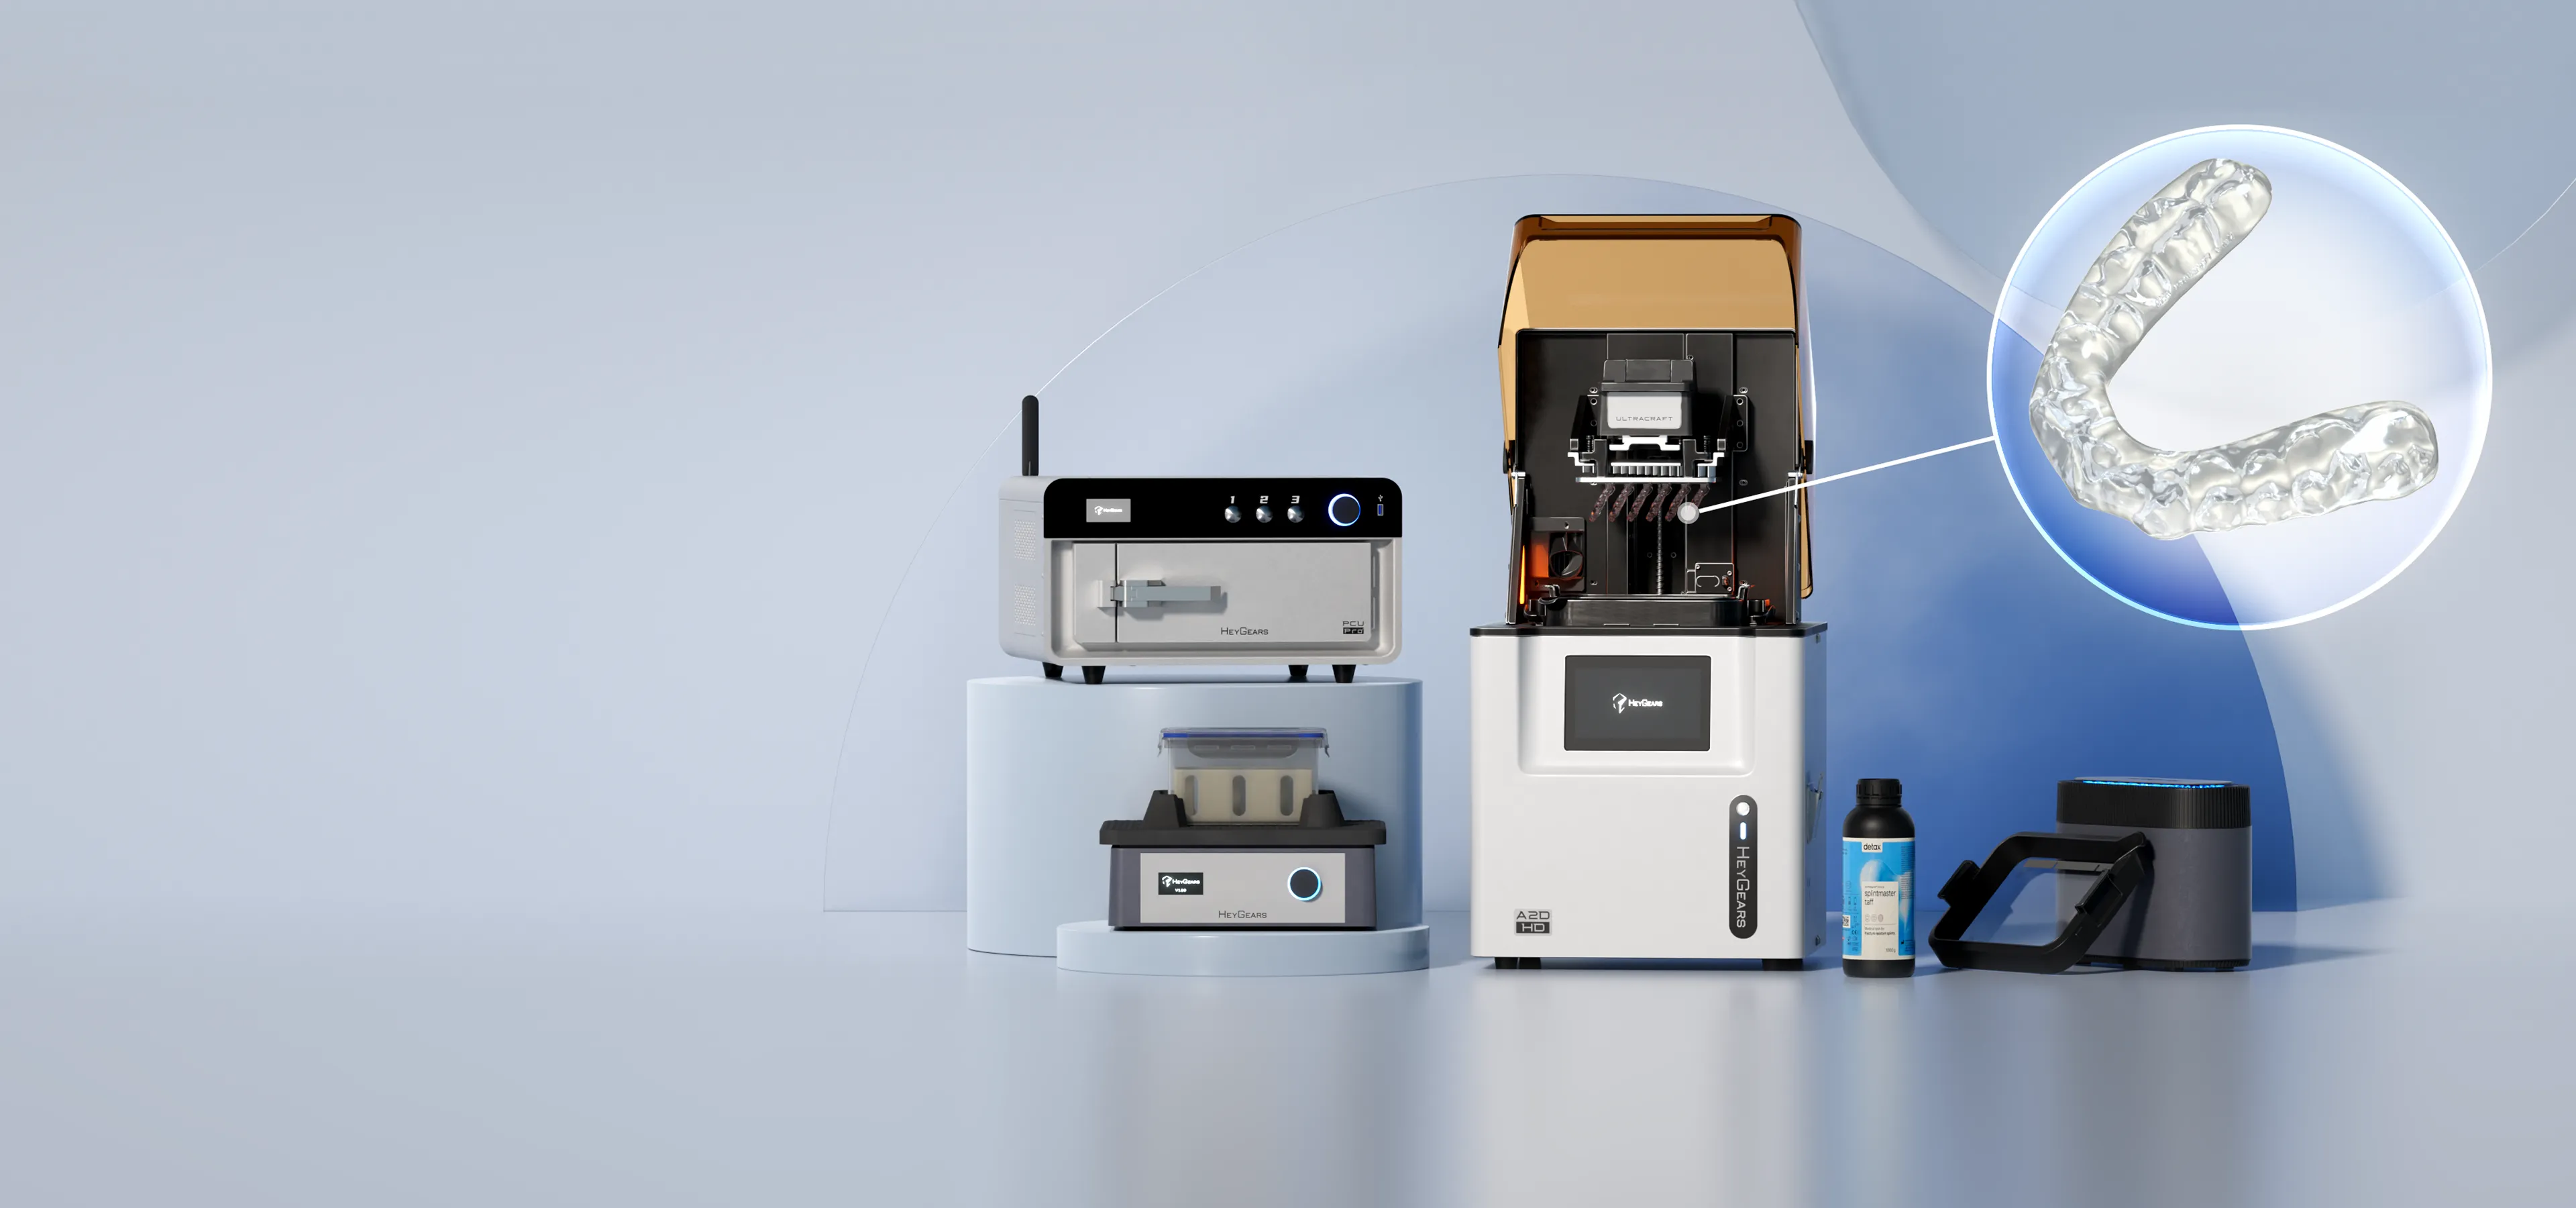
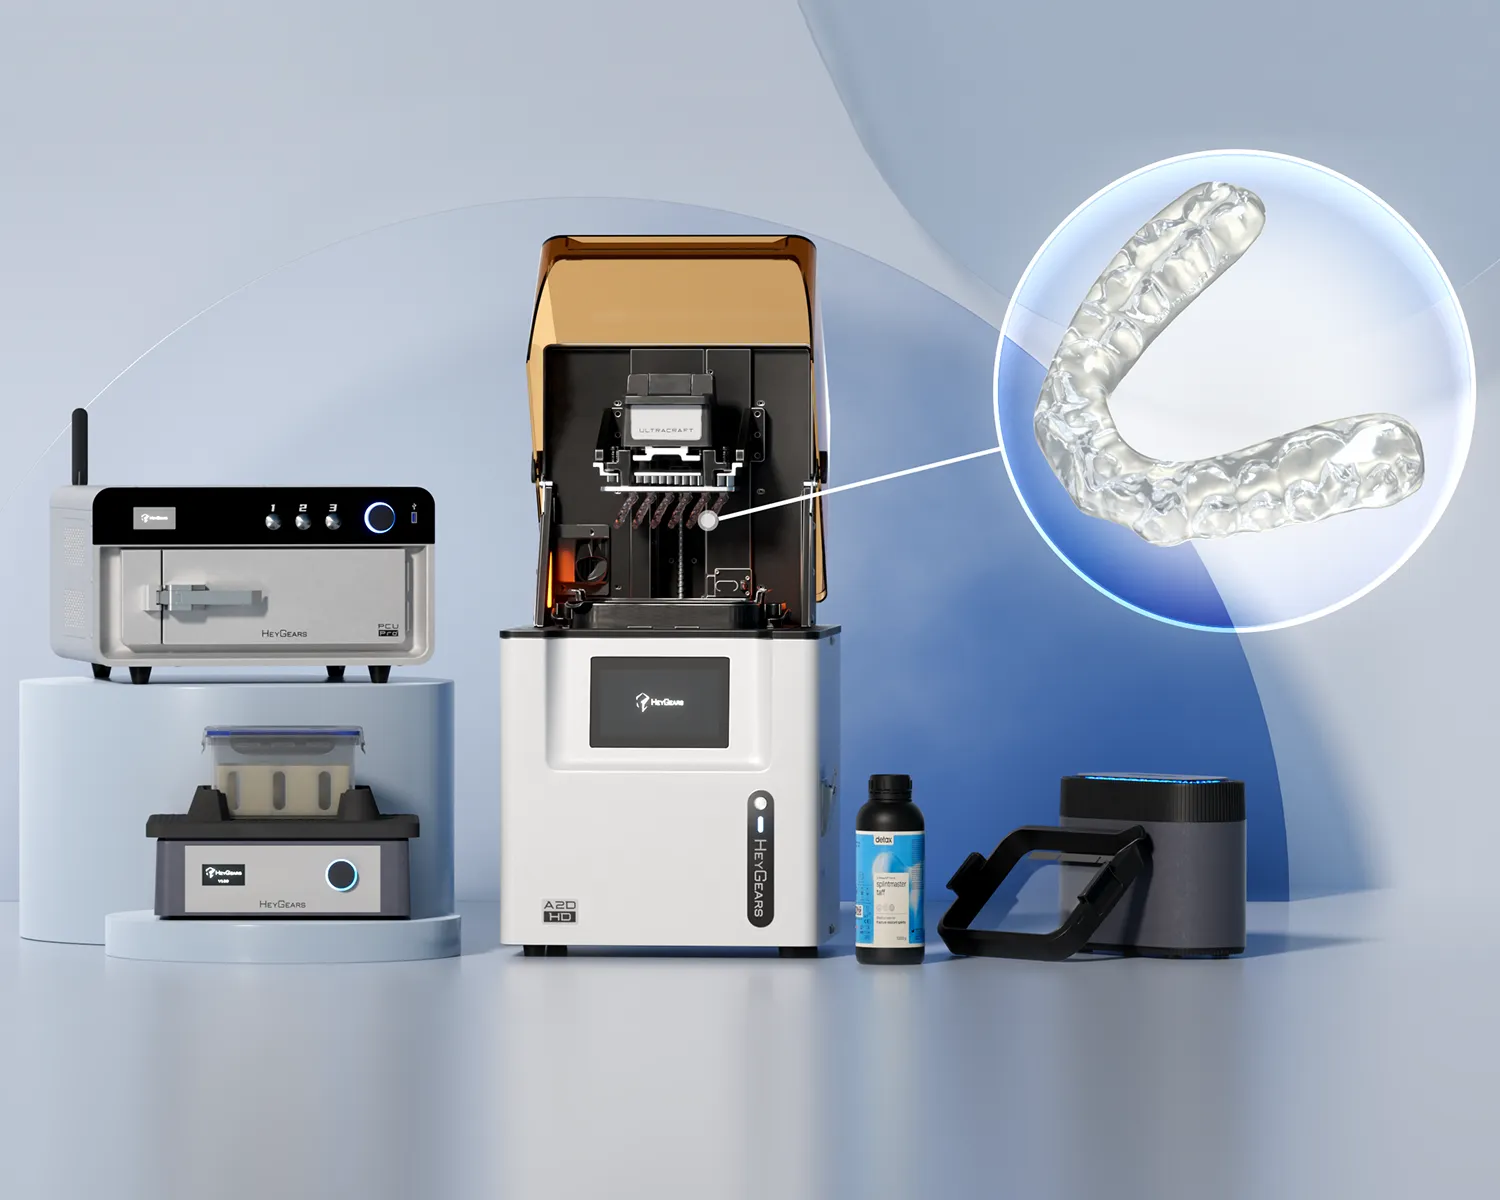
Double-Sided High Transparency with Glossy Finish
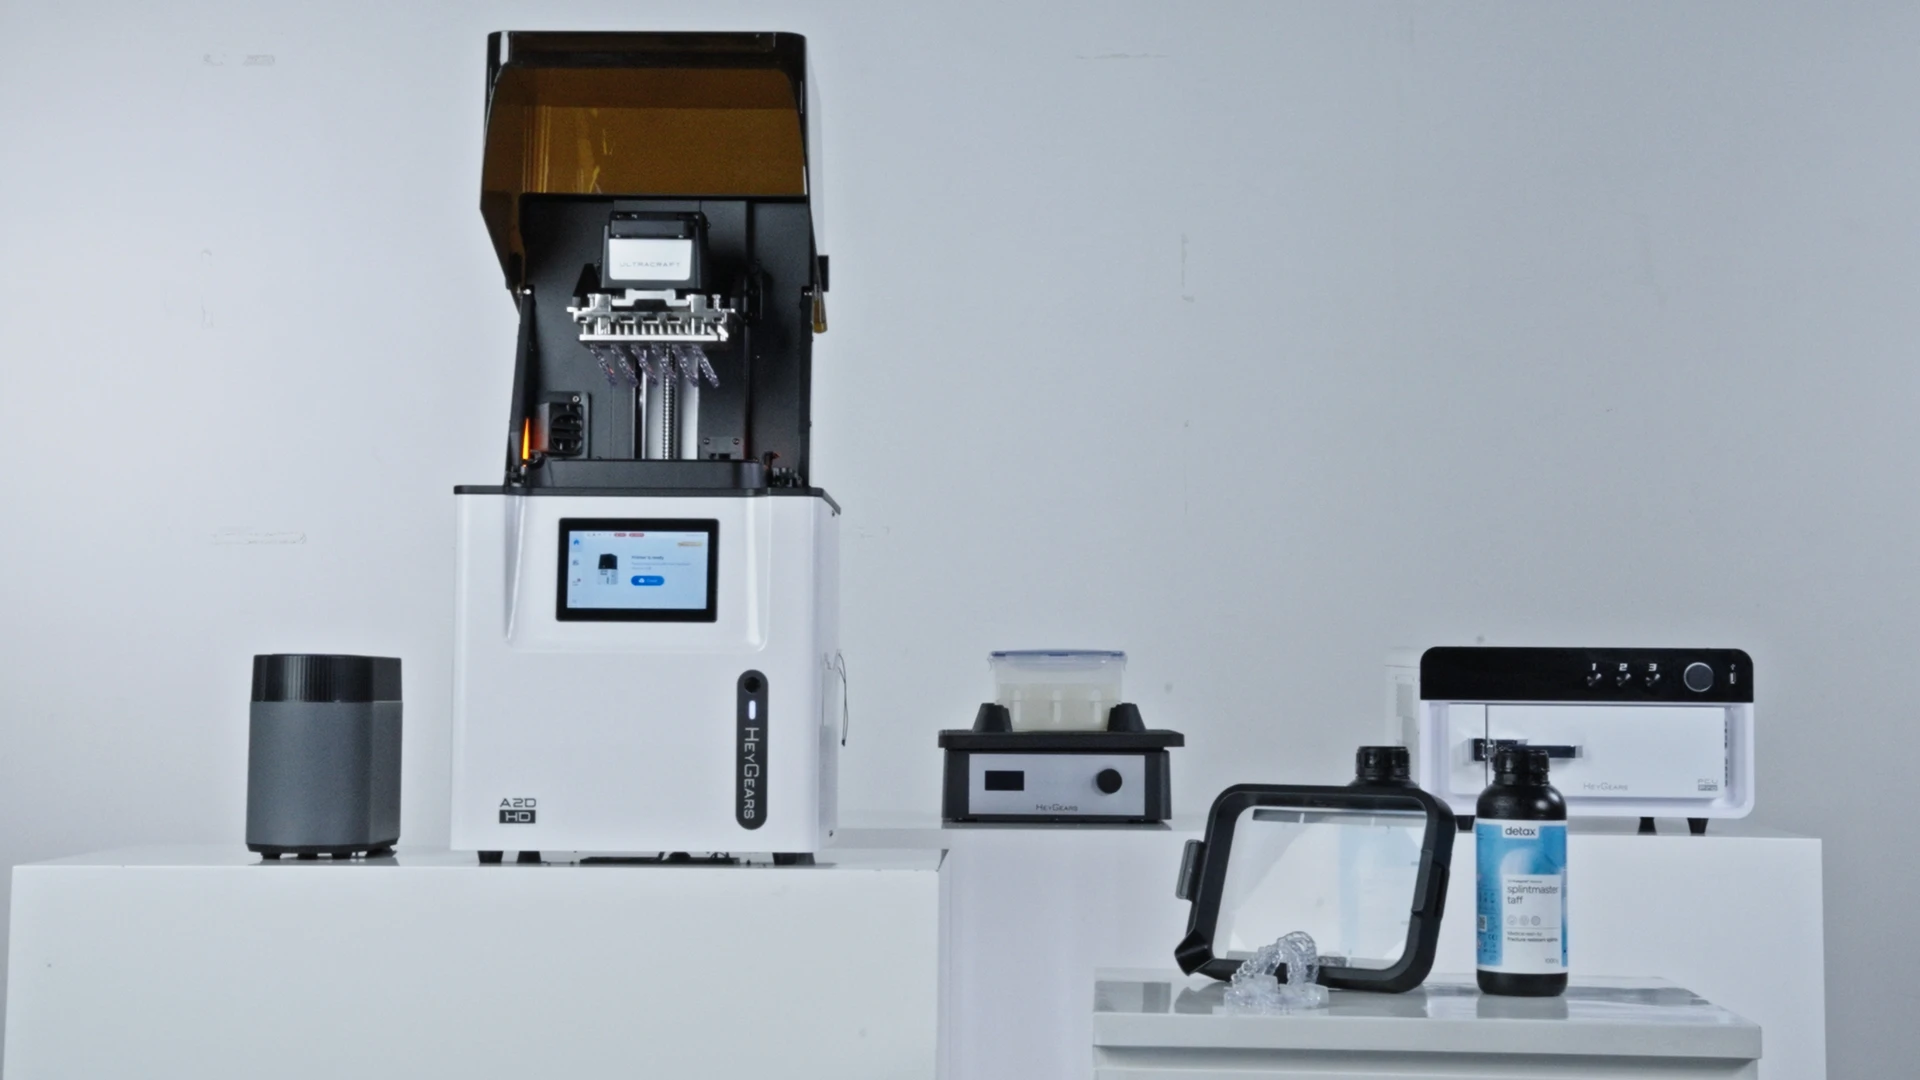
End-to-End Smart Production
As Low as $4 per Splint
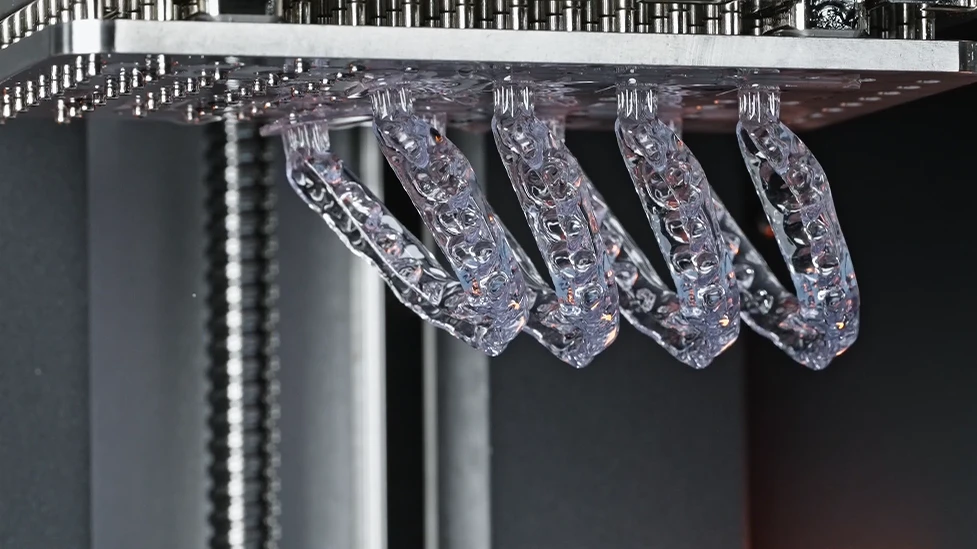
Double-Sided High Transparency
Polish-Free
Double-Sided High Transparency with Glossy Finish
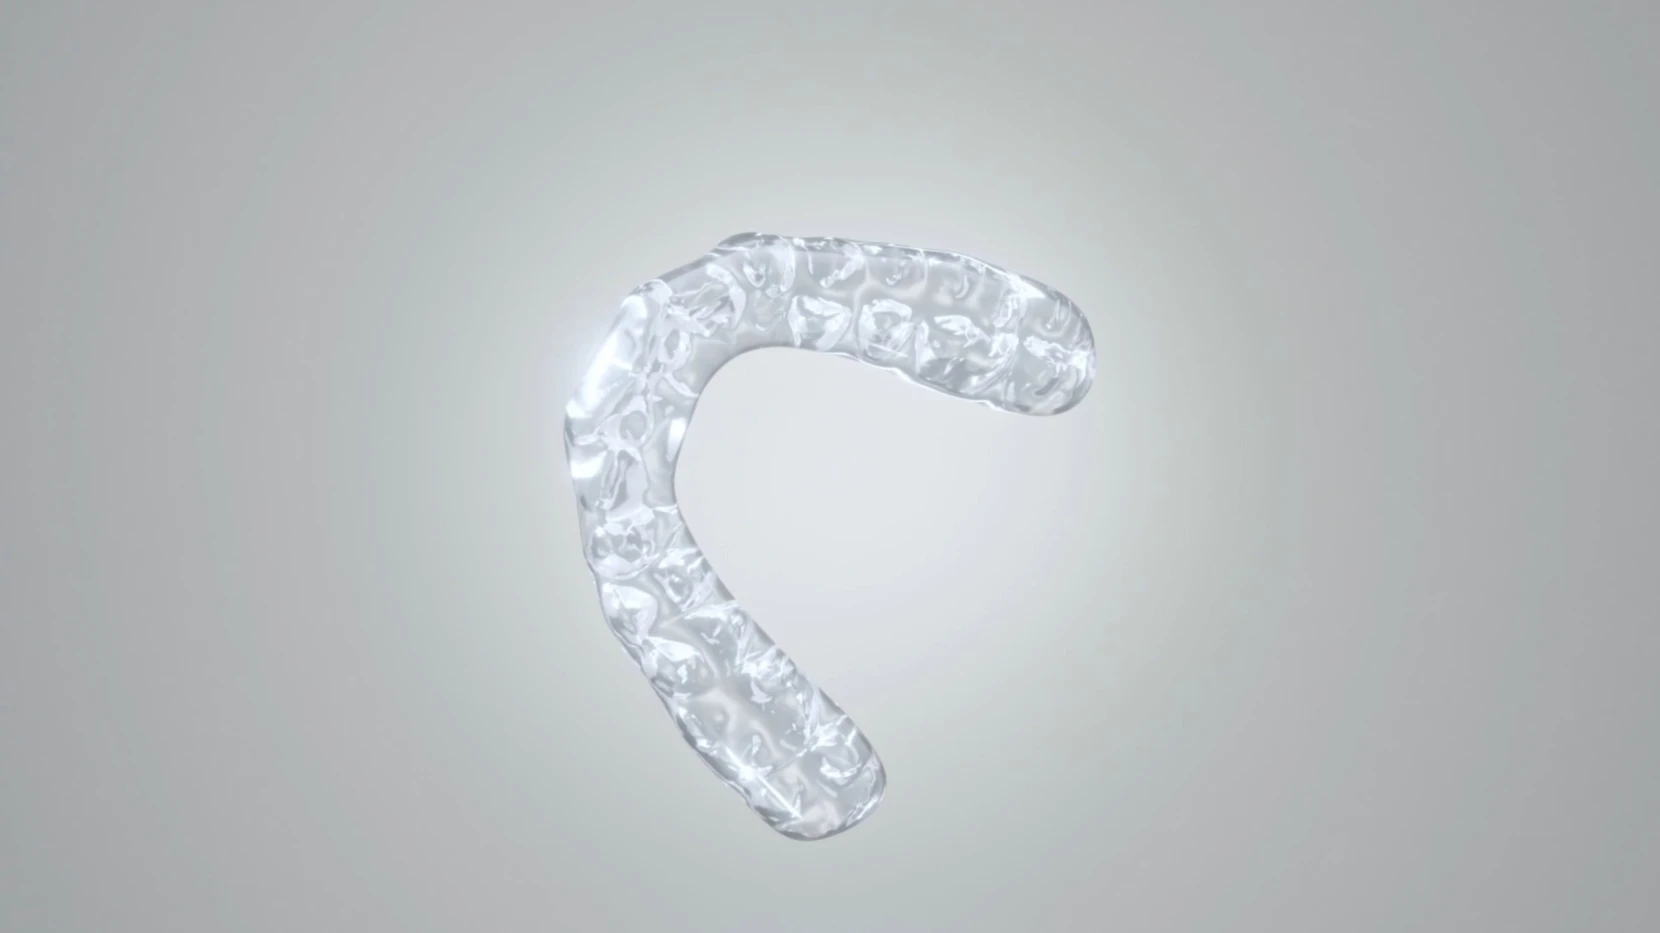
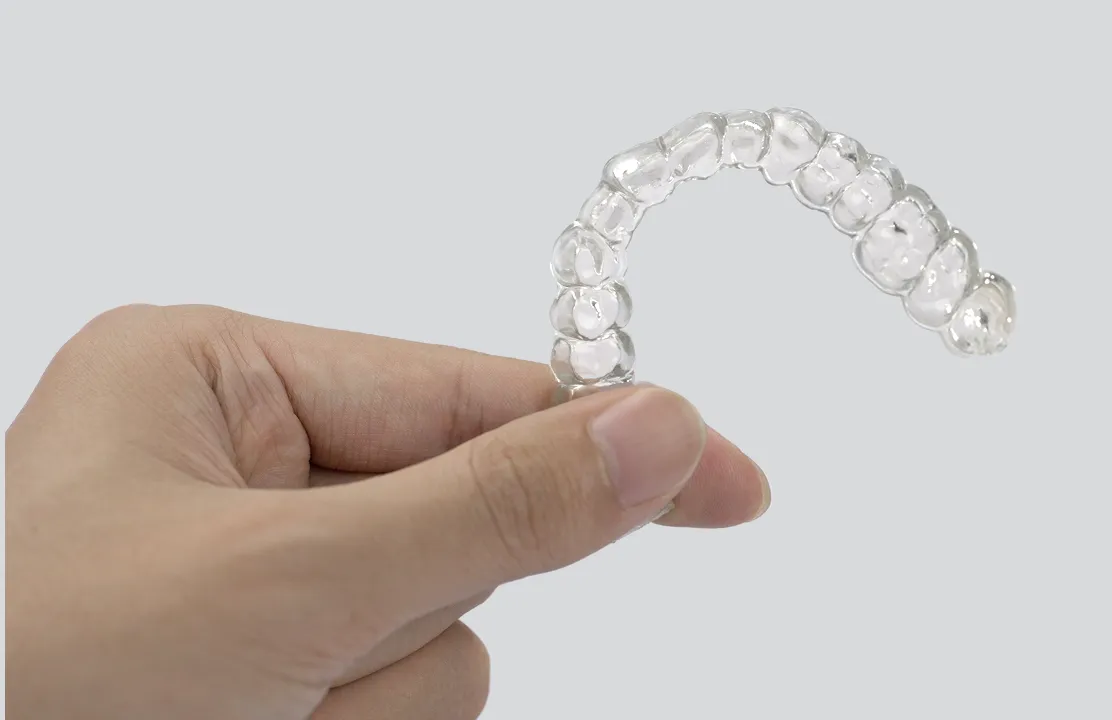
Results Beyond Manual Polishing
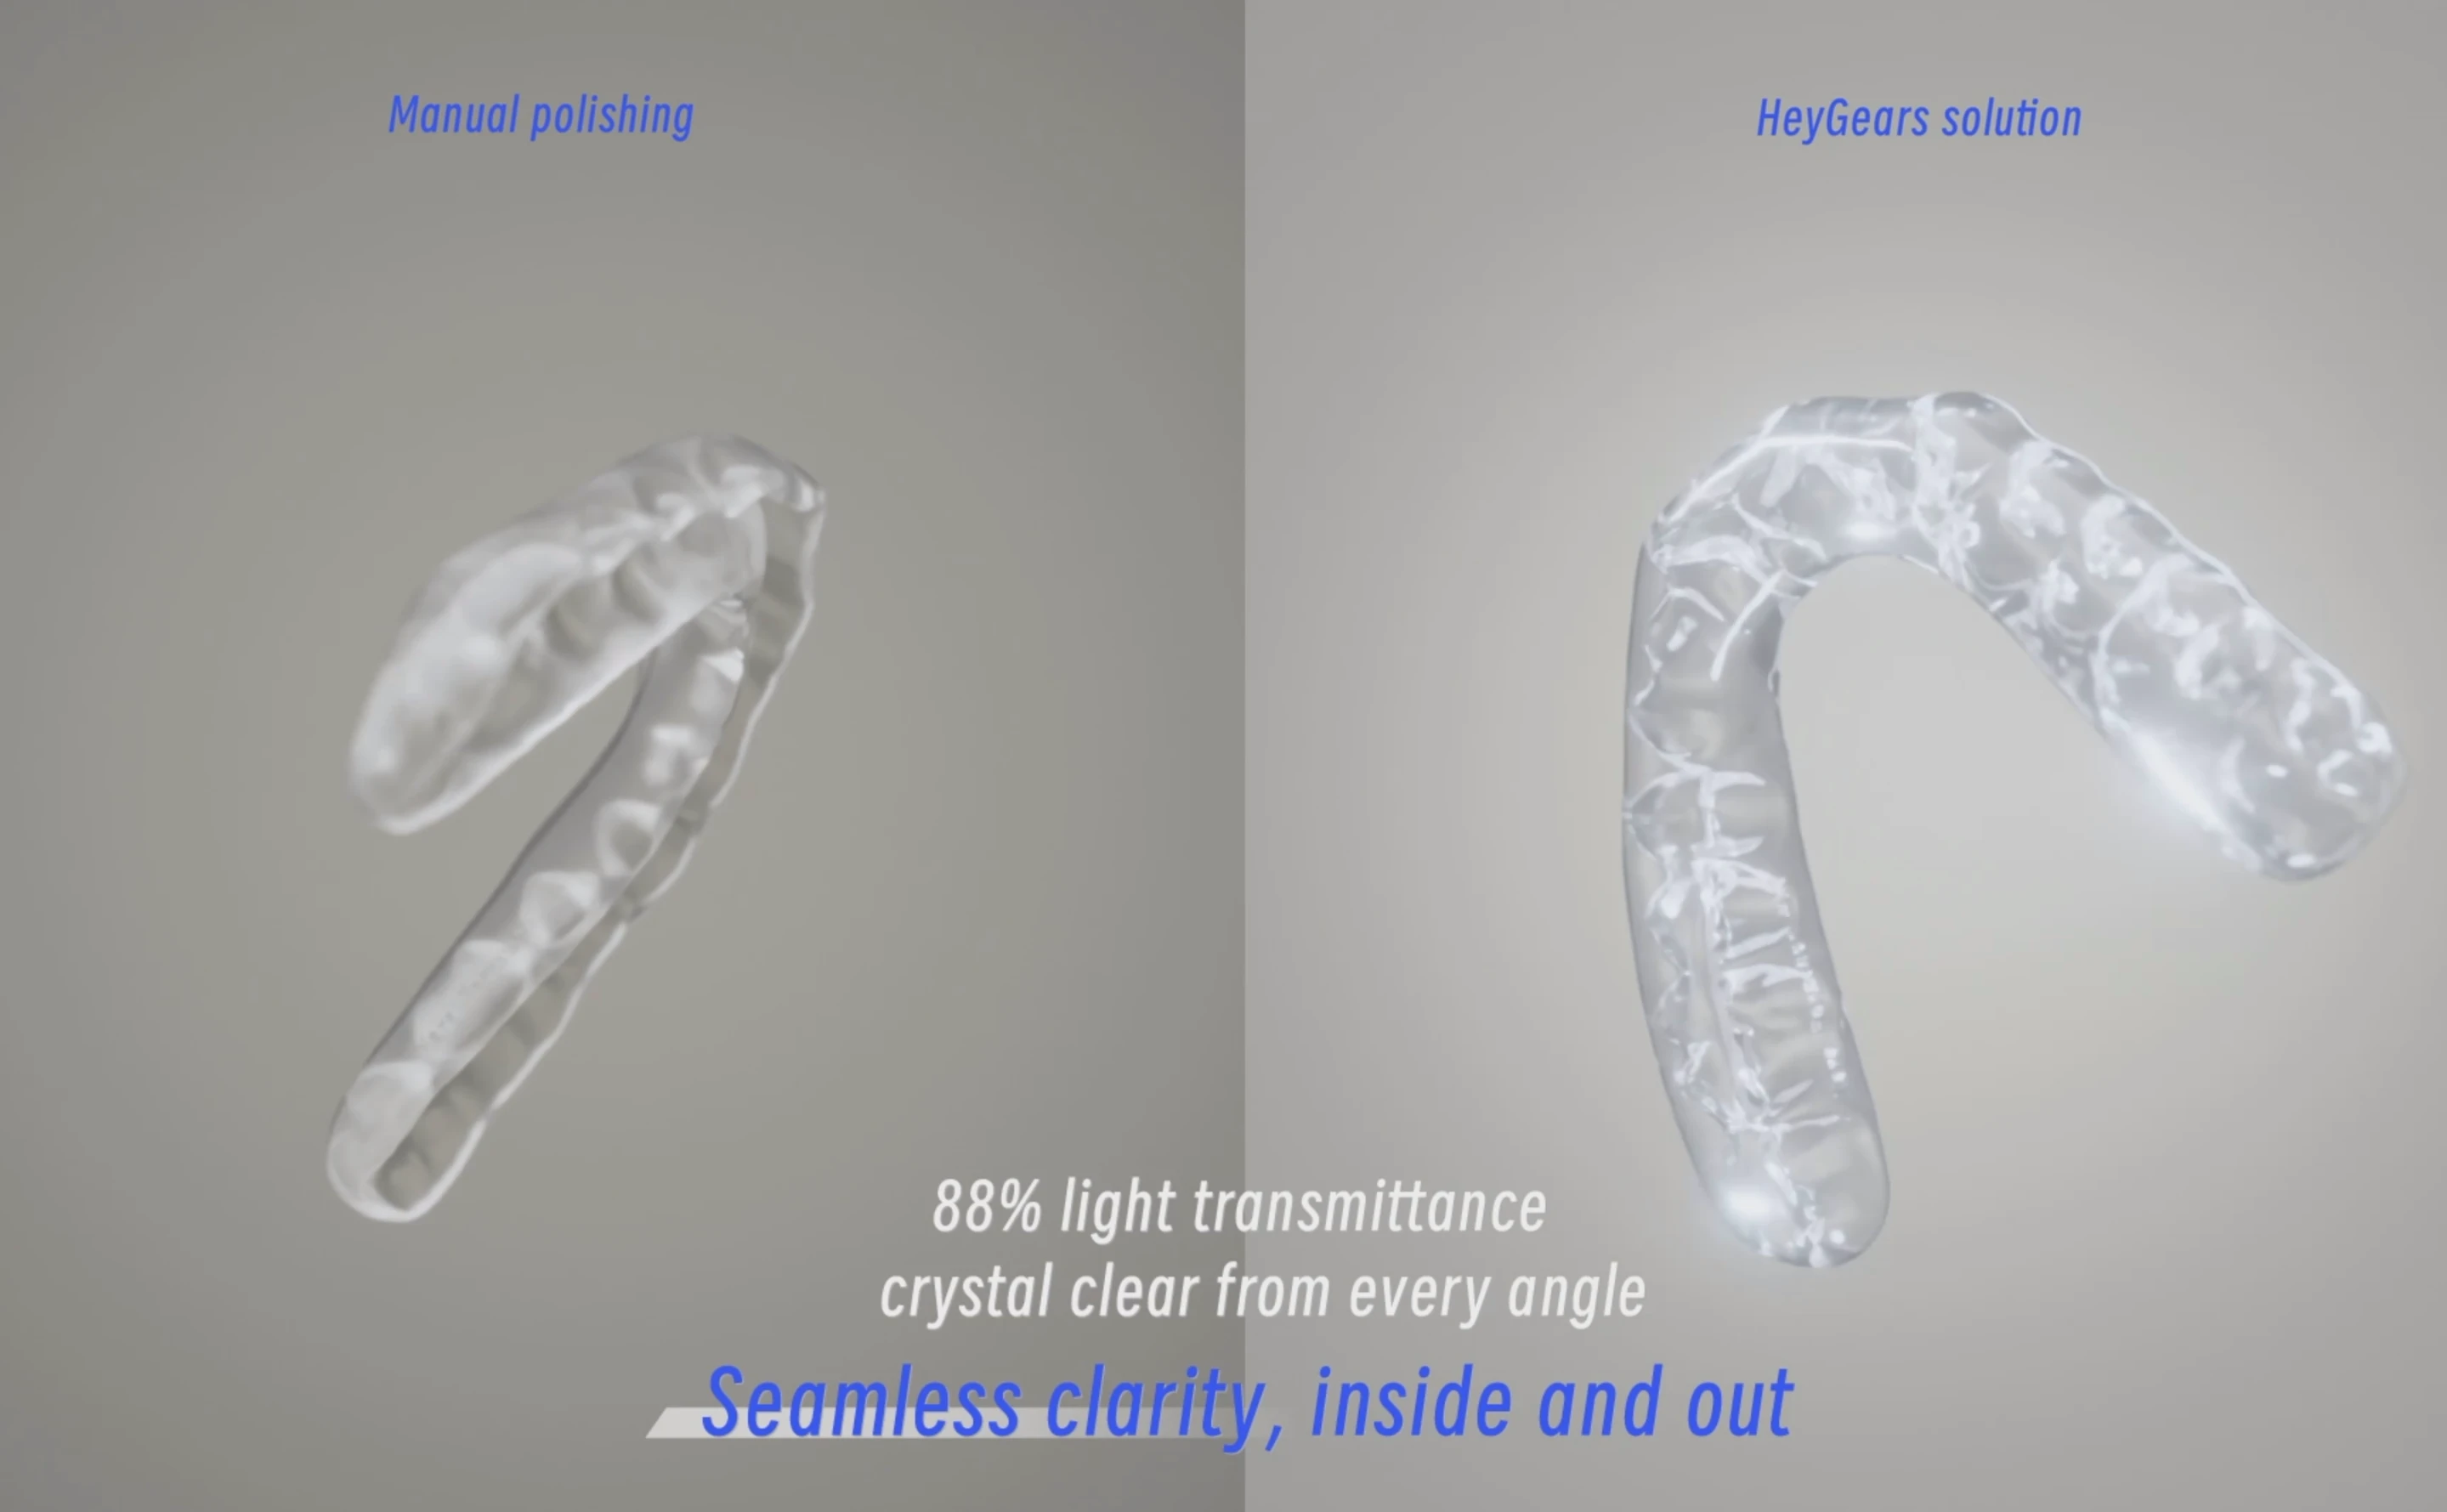
Full-Surface 88% Light Transmittance
Crystal Clear Clarity from Every Angle, Inside and Out
*HeyGears Lab, using detax splintmaster taff & HT Resin Tank
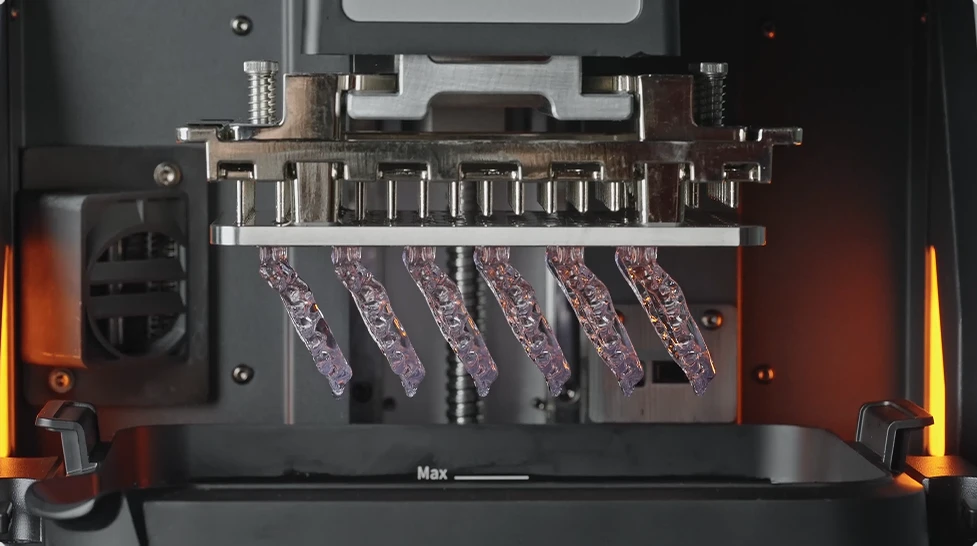
Factory-Grade Glossy Surface
3D Printed Pre-Polished Shiny Surfaces
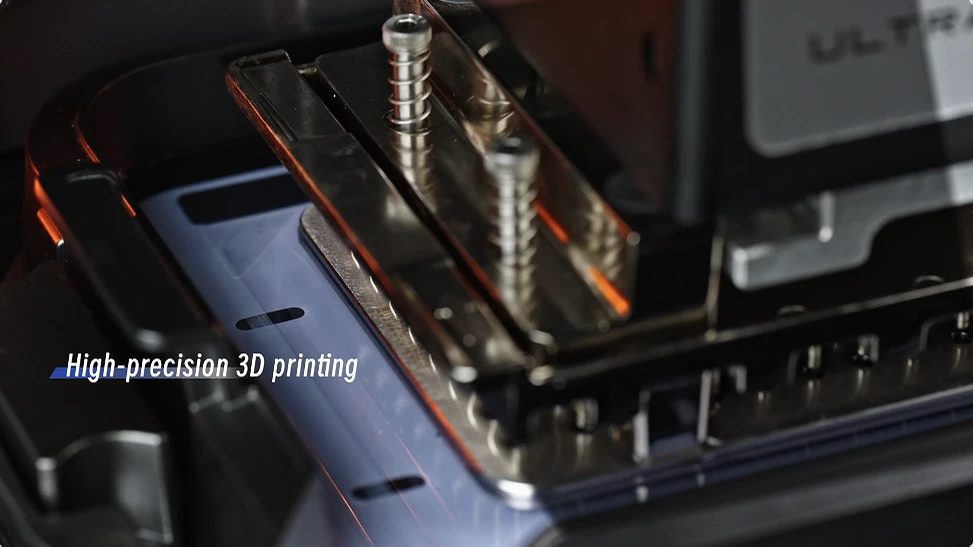
End-to-End Smart Production Minimal Manual Labor
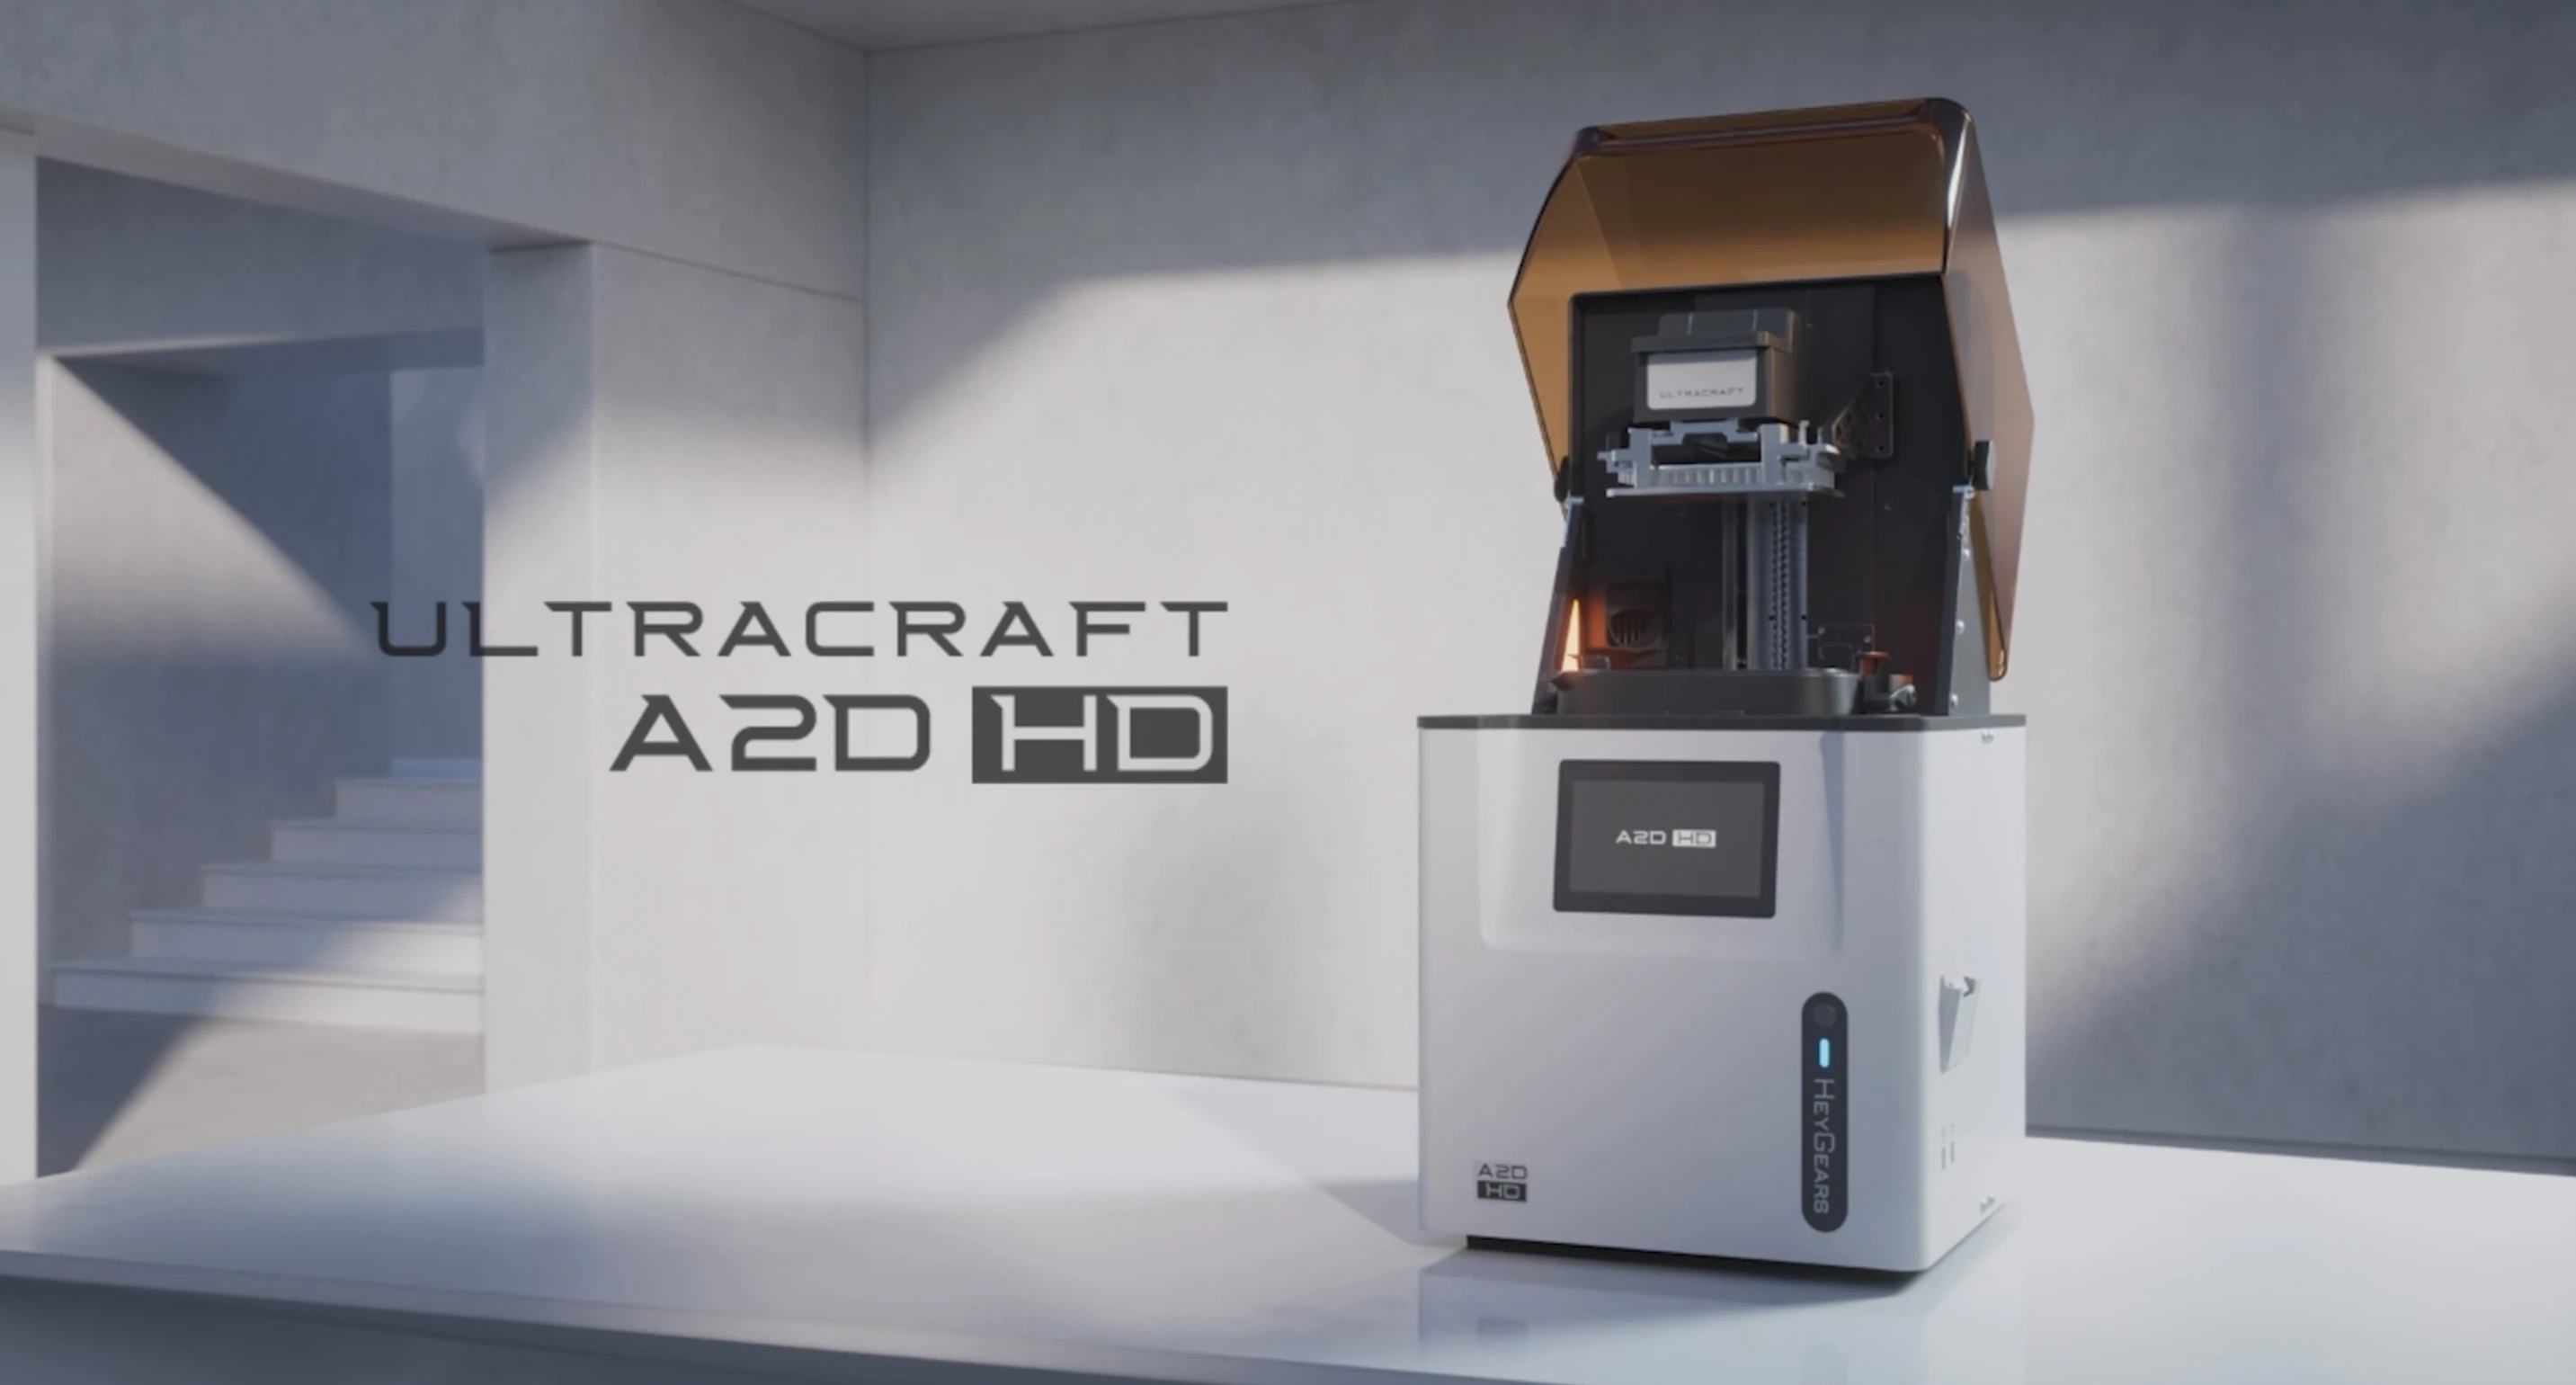
Automated Pre-Processing & High-Precision 3D Printing
Only 45 Minutes per Unit from Pre-processing to Delivery*
*267 mins per batch/6 units
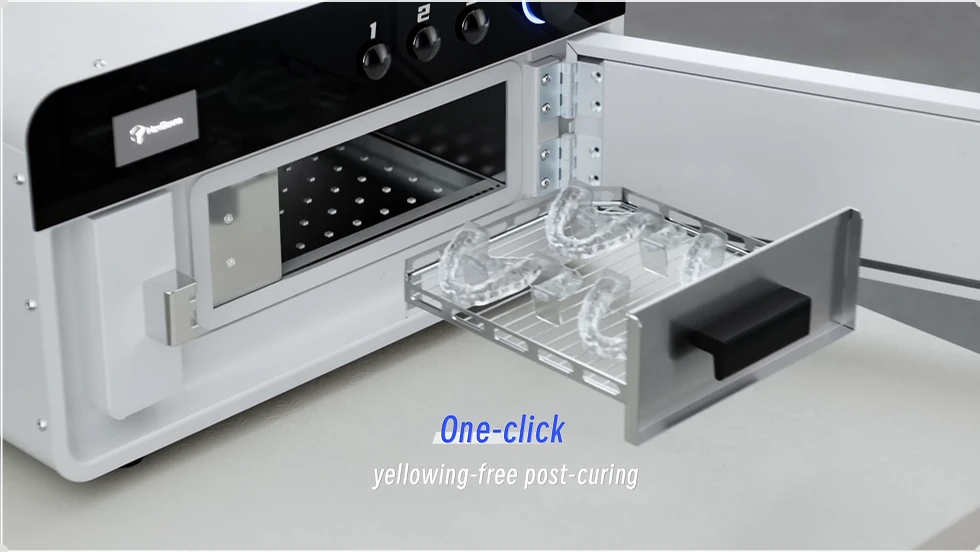
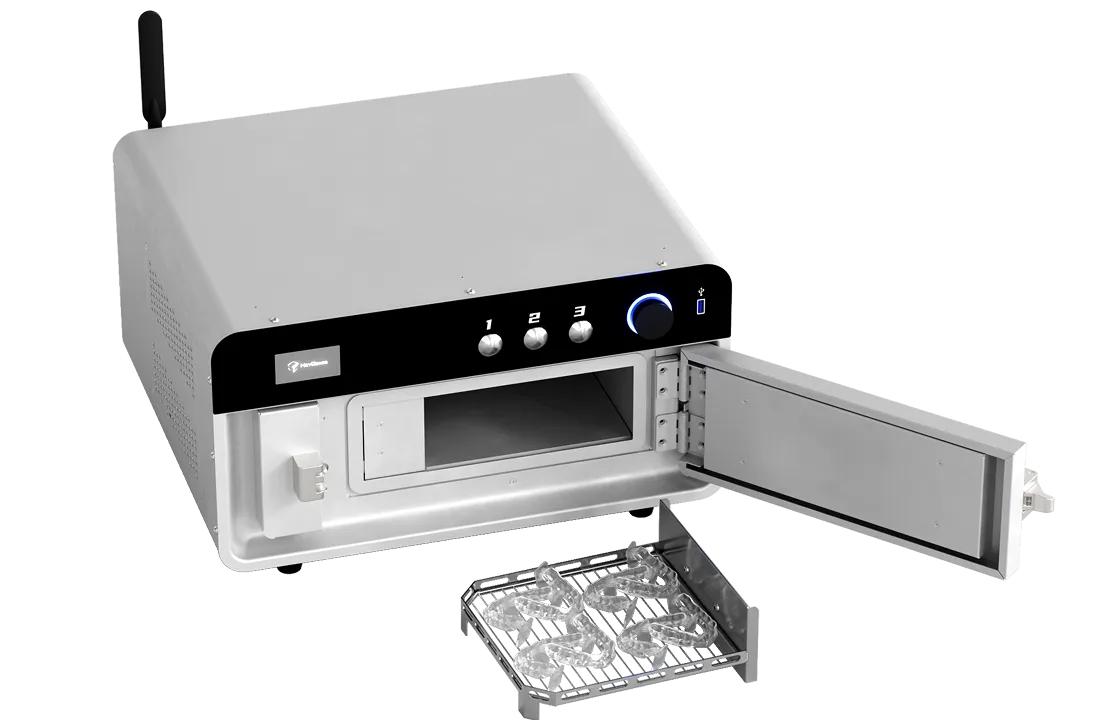
Efficient Washing + One-Click Yellowing-Free Post-Curing
Specialized Washing Fixtures Ensure Batch-to-Batch Perfection
Skip Polishing Steps
Premium Quality Splints Directly from the Printer
As Low as $4 per Splint
Enhanced Cost Efficiency
Great Value Material
Only $399
per 1 kg Bottle
High Material Utilization
101
Splints per Bottle
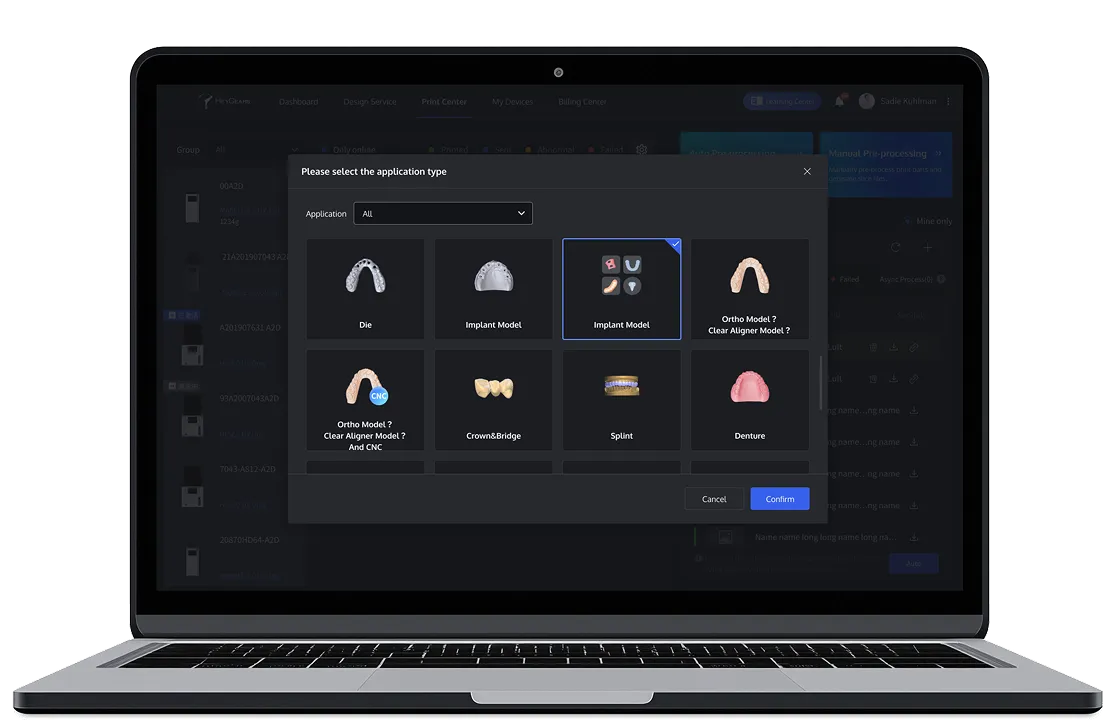
End-to-End Smart Printing Workflow for Splints
Step 1
Pre-processing (HeyGears Cloud)
· Log in and navigate to: Print → Manual Pre-processing
· Select Application → Splint → Select Printer → A2D HD → Select splintmaster taff 50 μm
· Settings: Select Layout → High transparency → Select Tank Type → HT Resin Tank
· Import file → Auto steps: Straighten → Layout → Add Supports → Slice
· Download file or drag to printer to start job
Step 2
3D Printing (UltraCraft A2D HD)
Pre-print:
Clean platform/tank, install properly
Shake resin, pour, insert resin card
Select task → Start print
Shake resin, pour, insert resin card
Select task → Start print
Post-print:
Install collection tray → Auto part-removal (avoid touching surface)
Step 3
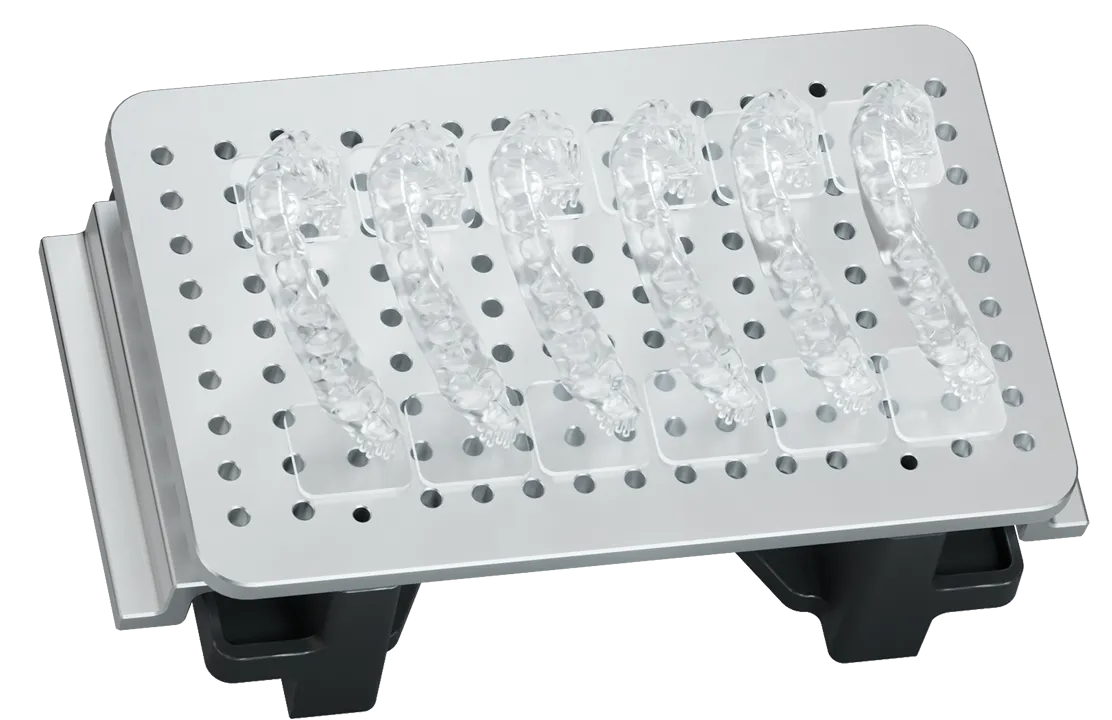
Washing & Drying (UltraCraft Wash + Splint Wash Kit)
Solvent:
IPA (≥99%) or 95% alcohol
Steps:
Mount splint in fixture → Fill tank to mark
Wash 3 min → Replace solvent → Wash 1 min
Air-dry 10 min (no air gun)
Check residue → Rewash if needed
Wash 3 min → Replace solvent → Wash 1 min
Air-dry 10 min (no air gun)
Check residue → Rewash if needed
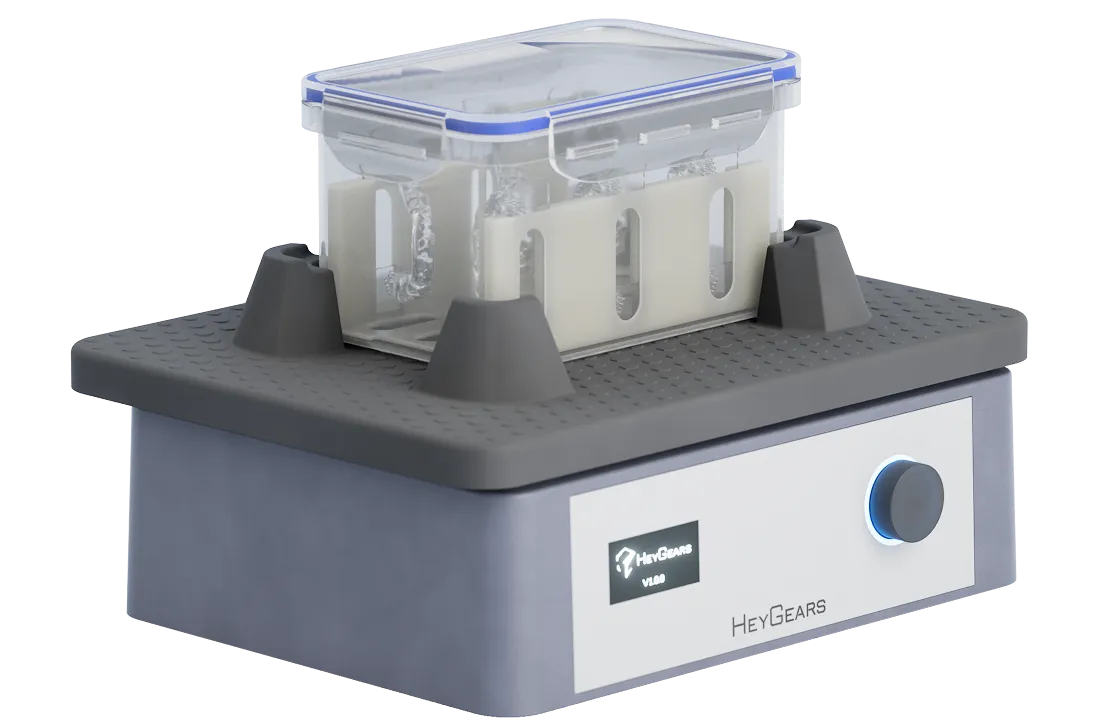
Step 4
Curing
UltraCraft PCU Pro:
Place on tray → Select process → Cure under inert gas
NK Optik Otoflash G171:
Place in box → 2000 flashes under inert gas→ Flip → Repeat
Note: Handle by base only
Note: Handle by base only
Step 5
Finishing
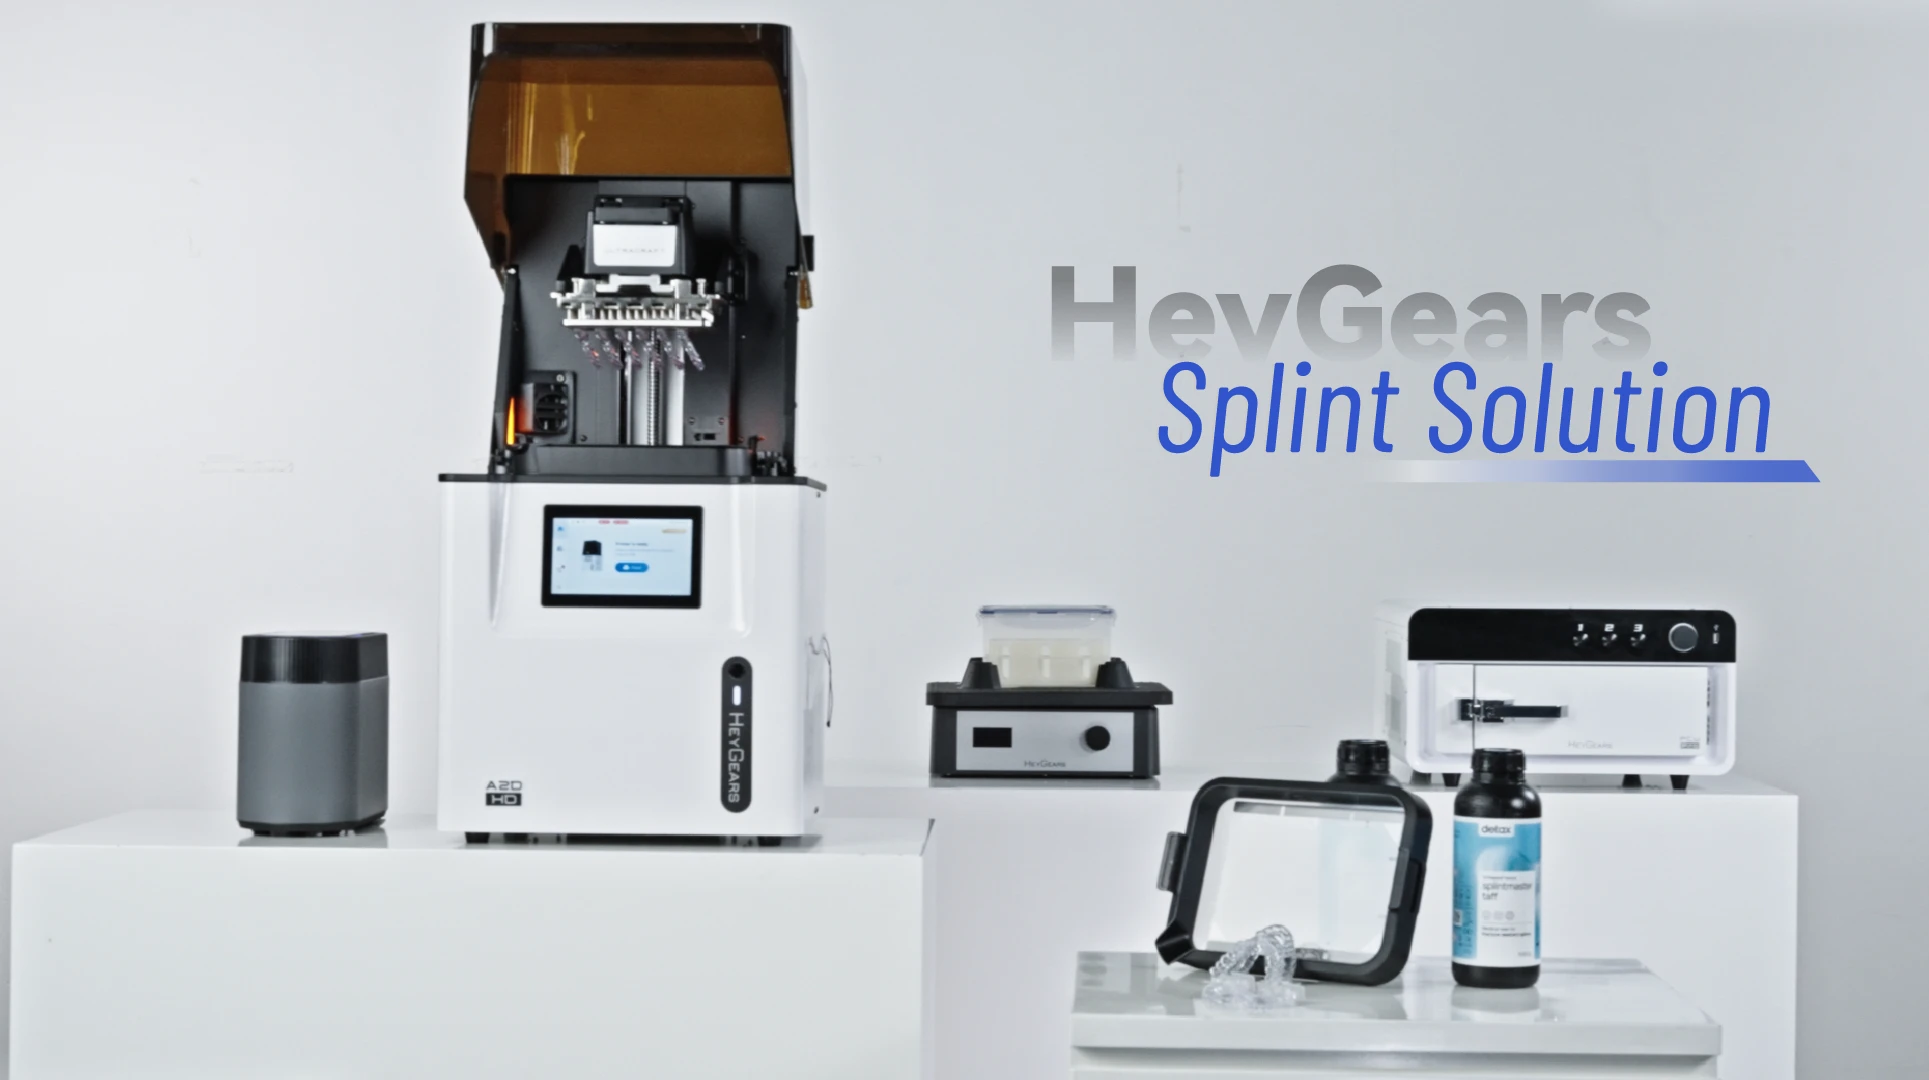
Splint Solution Workflow
Solution.DigitalImpress.get_samples
